With a few quick clicks, you can detect network abuse with Wireshark. Jack Wallen shows you how.

Image: iStockphoto/marchmeena29
Recently, I had cause to be concerned that there was nefarious traffic on my local area network (LAN) and decided I needed to monitor the network to find out what was going on. Naturally, I turned to the open source network monitor, Wireshark.
Wireshark is a pretty impressive tool that can do more than most network analyzers. The problem is, those who aren’t familiar with the tool might have a bit of trouble knowing where to start–it can be really intimidating.
To that end, I wanted to show you one way to detect network abuse with Wireshark. Specifically, I want to show you how easy it is to actually see what protocols are being used on your network and then find out where those protocols are originating from. With that information in hand, it’s much easier to determine if something untoward is going on (such as BitTorrent, Bitcoin, etc.).
SEE: Security Awareness and Training policy (TechRepublic Premium)
What you’ll need
In order to detect network abuse, you’ll need Wireshark installed. The platform you use won’t matter. However, what will matter is that you are able to start Wireshark with admin privileges.
I’ll be demonstrating on Pop!_OS Linux. If you’re using a different platform, you’ll need to know how to launch Wireshark with admin rights.
How to start Wireshark with admin privileges
The reason you must start Wireshark with admin privileges is that it needs to be able to run /usr/bin/dumpcap, which only a user with admin rights can do. The easiest way to start Wireshark with admin privileges is to open a terminal window and issue the command:
sudo wireshark
With Wireshark open, it will locate your interfaces and then you can select a capture filter and click the start button (the blue shark fin) (Figure A).
Figure A
” data-credit rel=”noopener noreferrer nofollow”>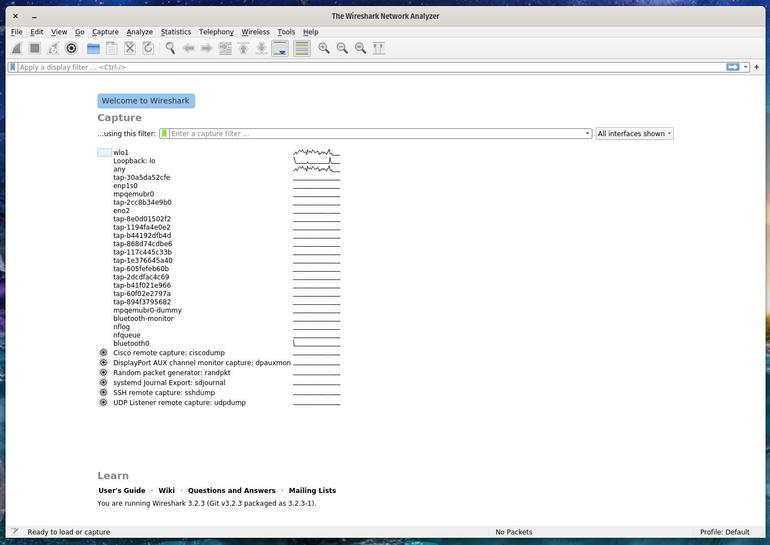
The Wireshark main window.
How to monitor protocols
Once Wireshark is capturing packets on your network, you’ll see packets flying by in the main window (Figure B).
Figure B
” data-credit rel=”noopener noreferrer nofollow”>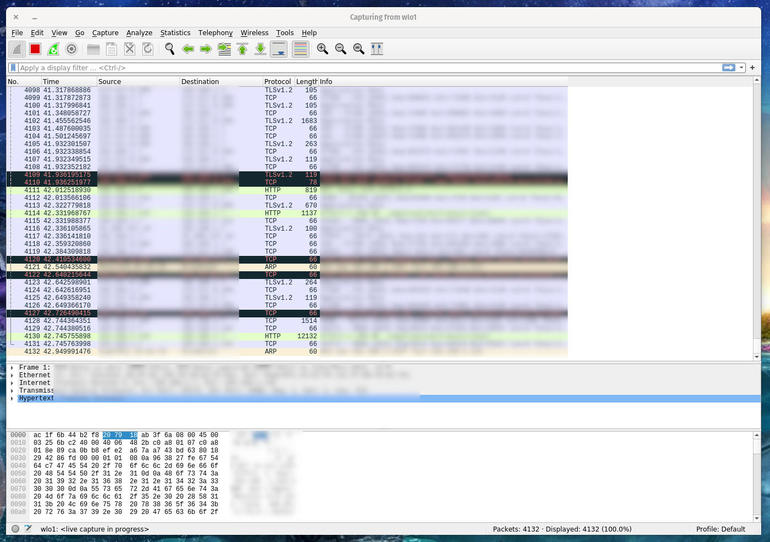
Wireshark capturing packets.
While Wireshark is capturing packets, click Statistics | Protocol Hierarchy. The resulting window lists out every networking protocol captured on your LAN (Figure C).
Figure C
” data-credit rel=”noopener noreferrer nofollow”>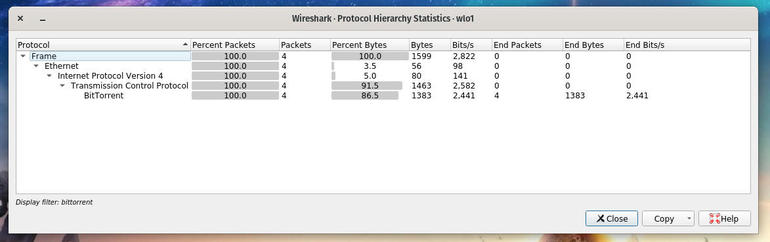
The Wireshark Protocol Hierarchy window in action.
Let’s say you spot a protocol that seems suspicious. As you can see above, Wireshark is detecting BitTorrent traffic, which you might not usually have on your network. Right-click that entry, select Apply As Filter | Selected. Close the Protocol Hierarchy and return to the Wireshark main window, where you’ll see the BitTorrent filter applied (Figure D).
Figure D
” data-credit rel=”noopener noreferrer nofollow”>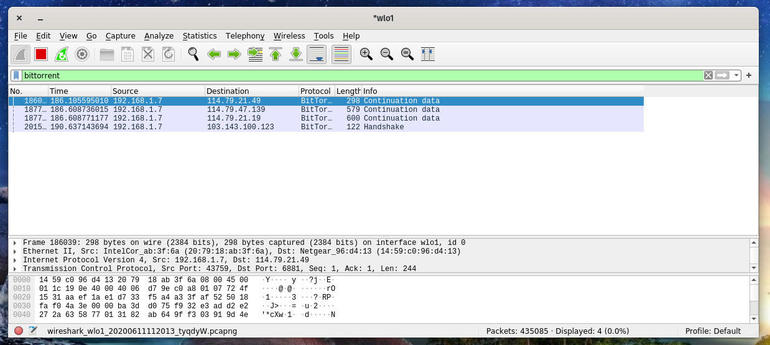
The BitTorrent filter applied from the Wireshark Protocol Hierarchy window.
You can then see both the destination and source address for the offending protocol. Track down the IP address on your network and stop whatever application it is that’s sending or receiving those packets.
One thing to note about the Protocol Hierarchy is that it does not get real-time updates. If you don’t see anything offending in the window, you might have to close it, wait a bit (for Wireshark to collect more packets), and then reopen.
And that’s the simplest method of using Wireshark to detect network abuse on your LAN. Although Wireshark can do significantly more, if you’re looking for a way to quickly detect unwanted traffic on your network, this method should work every time.

Cybersecurity Insider Newsletter
Strengthen your organization’s IT security defenses by keeping abreast of the latest cybersecurity news, solutions, and best practices. Delivered Tuesdays and Thursdays
Source of Article