If you have Ubuntu Servers in your data center, you should consider adding Canonical Livepatch to keep them up to date with kernel security patches.

Image: Jack Wallen
If you’re serious about your Ubuntu Server security, then you are always on top of updates. Right? Or, do you tend to forget to apply those security patches and hold off until you upgrade the kernel and have to reboot?
That’s so early 2000s.
With the advent of kernel Livepatch, security patches are automatically applied to those running kernels without having to reboot your server. Canonical has made using Livepatch incredible easy when a GUI is involved. But, what about when it’s a command line only server? What do you do then? Fortunately, you’re not at a loss. With just a few steps, you can connect your server to the Livepatch service.
I’m going to show you how to do that.
SEE: SSL Certificate Best Practices Policy (TechRepublic Premium)
What you’ll need
I’m going to be demonstrating on an instance of Ubuntu Server 20.04, but you can make this work on any LTS version of Ubuntu 16.04 or newer. You’ll also need a Ubuntu One account, so you can retrieve a Livepatch token.
Once you’ve logged in to your Ubuntu One account, go to the Livepatch token page and retrieve your token.
Of course there are a few caveats with Canonical Livepatch. Specifically:
-
It is only available on 64-bit versions of Long Term Support releases (so 16.04, 18.04, 20.04, etc.)
-
The server must be running kernel 4.4 or newer
-
You are limited to three machines per Ubuntu One account; if you need to install the Livepatch service on multiple servers or desktops, you’ll need a Ubuntu Advantage plan
What does Livepatch do?
Livepatch is a service that allows you to apply security patches to a running kernel, without having to reboot. By using this service, you are better able to keep that server safe from vulnerabilities–without having to take that server offline for a reboot.
What Livepatch is not is a means to upgrade a kernel without rebooting. If you upgrade the kernel, you’ll still have to reboot. But when it comes to security, the kernel tends to usually only need patching, which Livepatch covers.
So this should be considered a must-have for your Ubuntu Servers.
How to enable Livepatch from the command line
Log in to your Ubuntu server and install the Livepatch service with the command:
sudo snap install canonical-livepatch
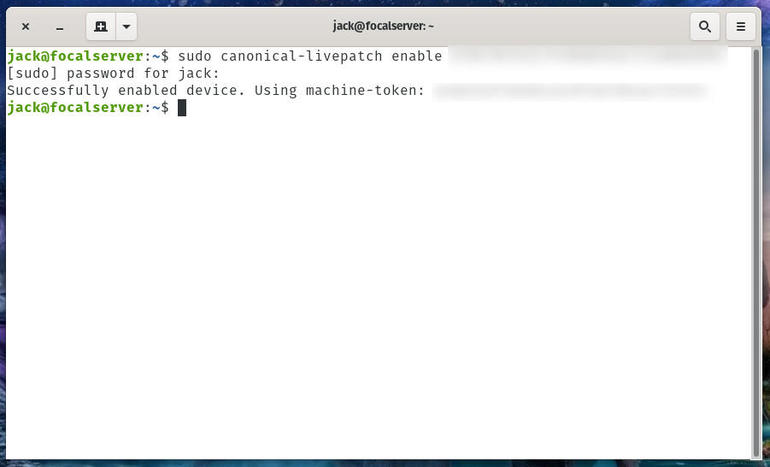
When the installation completes, you’ll then need to enable Livepatch with the token you retrieved from your Ubuntu One account. To do this, issue the command:
sudo canonical-livepatch enable TOKEN
Where TOKEN is the token associated with your Ubuntu One account.
When the command succeeds, you’ll see it report that the device has been enabled (Figure A).
Figure A
” data-credit rel=”noopener noreferrer nofollow”>

Livepatch successfully enabled on Ubuntu Server 20.04.
How to check the status of Livepatch
With Livepatch enabled, you can now check the status of the service with the command:
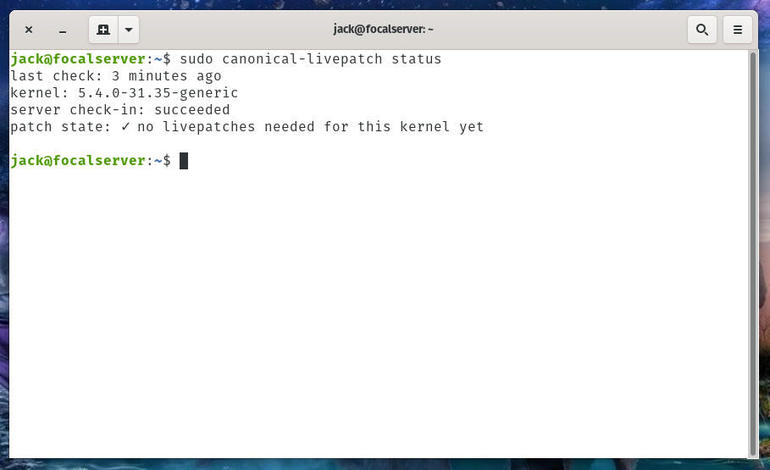
sudo canonical-livepatch status
The command will report back the last server check-in status and if any patches have been applied (Figure B).
Figure B
” data-credit rel=”noopener noreferrer nofollow”>

No patches have been applied to my instance of Ubuntu 20.04.
You can always manually force a check with the command:
sudo canonical-livepatch refresh
Once this is up and running, Canonical will silently apply patches to your running kernel in the background. When a patch is applied, it will be listed in the status command.
And that’s all there is to it. If you manage Ubuntu Servers in your data center, you owe it to yourself, those servers, and your company to add the Canonical Livepatch service. It will ensure your Linux servers are always patched and secure.
Also see
Source of Article


