Looking to replace Microsoft Office or Google Workspaces? ONLYOFFICE has the potential to be a perfect solution.

ONLYOFFICE is one of many options for those looking to host their own alternative to Google Workspaces. Recently ONLYOFFICE unleashed v7 of its platform, which includes exciting new features like a built-in form builder. Along with other features such as Projects, CRM, Mail, Contacts and Documents, ONLYOFFICE could be a perfect solution for those looking to bring such a tool in-house.
SEE: Linux turns 30: Celebrating the open source operating system (free PDF) (TechRepublic)
But how do you deploy ONLYOFFICE? Believe it or not, it’s actually quite simple … with the help of an installation script and Docker.
Let me show you how.
What you’ll need
To make this work, you’ll need a Linux server (I’ll be demonstrating on Ubuntu Server 20.04) and a user with sudo privileges. That’s it, let’s get to work.
How to install Docker
The first thing to do is install Docker. Log into your server and install the necessary dependencies with:sudo apt-get install ca-certificates curl gnupg lsb-release -y
When that installation completes, add the Docker GPG key:curl -fsSL https://download.docker.com/linux/ubuntu/gpg | sudo gpg --dearmor -o /usr/share/keyrings/docker-archive-keyring.gpg
Add the required Docker repository with the command:echo "deb [arch=$(dpkg --print-architecture) signed-by=/usr/share/keyrings/docker-archive-keyring.gpg] https://download.docker.com/linux/ubuntu $(lsb_release -cs) stable" | sudo tee /etc/apt/sources.list.d/docker.list > /dev/null
Update apt and install Docker-ce with:sudo apt-get update
sudo apt-get install docker-ce docker-ce-cli containerd.io -y
You’ll then need to add your user to the docker group (so you can deploy containers without sudo, which is a security risk) with:sudo usermod -aG docker $USER
Log out and log back in for the changes to take effect.
How to deploy ONLYOFFICE
Download the installation script with the command:wget https://download.onlyoffice.com/install/workspace-install.sh
Run the script with the command:sudo bash workspace-install.sh
If you’ll be deploying ONLYOFFICE to a domain, the command would be:sudo bash workspace-install.sh --md DOMAIN
Where DOMAIN is your FQDN.
The script will take some time to complete (as the images to be downloaded are over 1GB in size). Once the script completes, you’ll then need to give the containers time to reach a running state. After a few minutes, open a web browser and point it to http://SERVER (Where SERVER is either the IP address or domain of your hosting server).
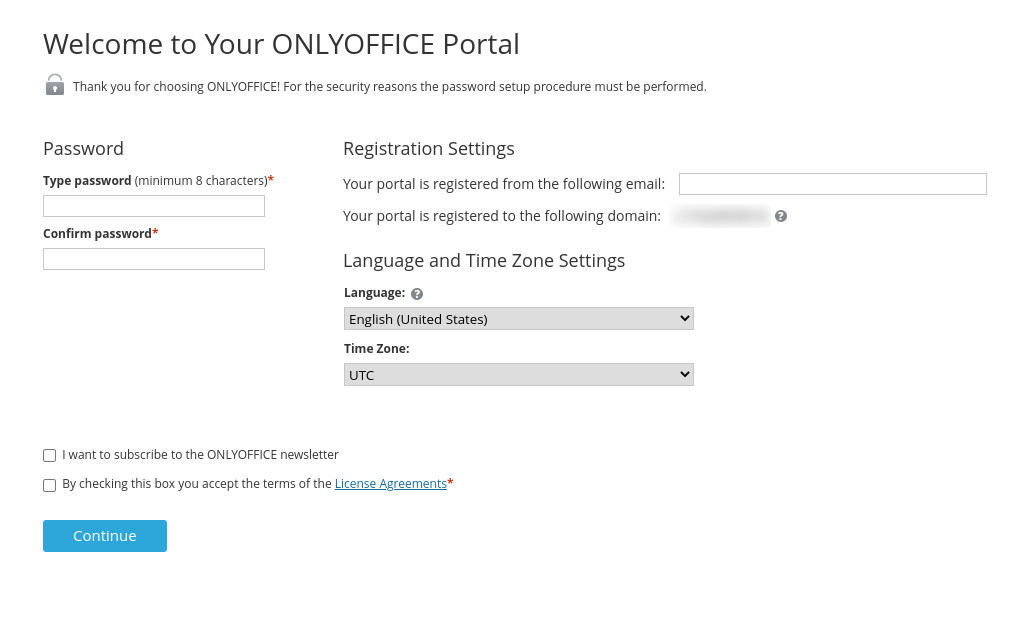
You’ll be greeted by a progress indicator informing you it will take some time to complete. Expect anywhere from 5-20 minutes for this to complete. Once it finishes, you’ll be presented with the setup window (Figure A).
Figure A

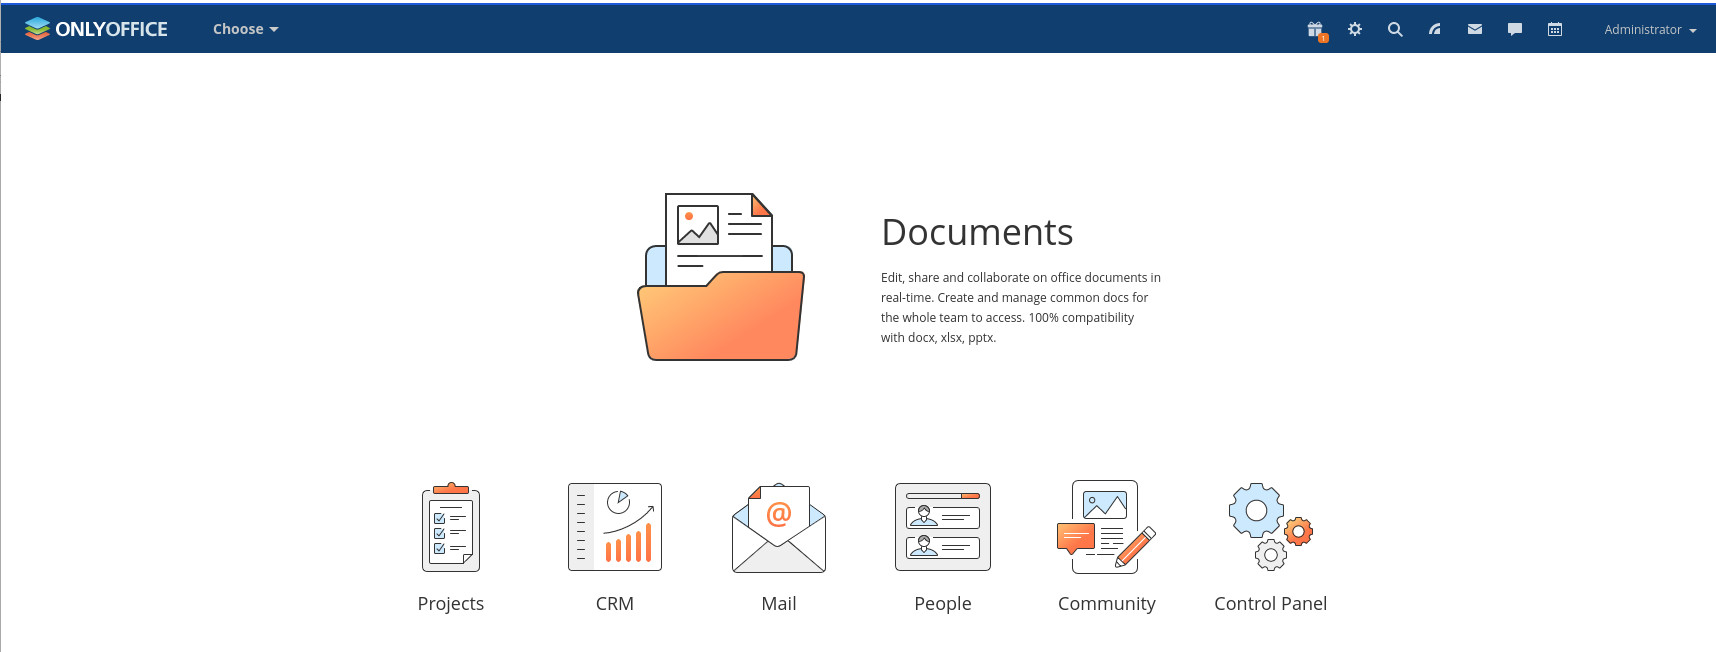
Make sure to fill out the necessary bits of information, click the check box to accept the terms, and click Continue. This will take you to the ONLYOFFICE main window (Figure B), where you can start kicking the tires of the new deployment.
Figure B

And that’s all there is to installing ONLYOFFICE on an on-premise data center server. Enjoy this exciting new release.
Subscribe to TechRepublic’s How To Make Tech Work on YouTube for all the latest tech advice for business pros from Jack Wallen.
Source of Article


