If you want to add Kubernetes to your development workflow, try the easy route with this Microk8s and Portainer combination.

Blink and technology changes. It was only several months ago that I wrote a TechRepublic tutorial on deploying Portainer to a Microk8s cluster for simplified Kubernetes development. Now that tutorial no longer works, because the latest versions of Microk8s have trouble clustering, and the versions of Microk8s prior to 1.24 won’t work with Portainer. Read on to learn the new process of deploying this all-in-one container management platform to a Microk8s cluster.
SEE: Hiring kit: Back-end Developer (TechRepublic Premium)
What you need to deploy Portainer to Microk8s
You’ll need a Microk8s cluster with at least three nodes and a user with sudo privileges.
How to install Microk8s and join the cluster
Here’s a quick refresher on how to deploy a Microk8s cluster properly.
- Install version 1.24 of Microk8s on all Ubuntu Server nodes via snap.
- Edit your /etc/hosts file to map hostnames to IP addresses.
- Set the hostnames for each machine.
- Set the proper timezone on all machines.
- Run the
microk8s add-nodecommand on the controller. - Run the
microk8s joincommand, shown in the output of theadd-nodecommand, on every node. - Add your user to the microk8s group with
sudo usermod -aG microk8s $USER. - Change the permission of the .kube folder with
chown -f -R $USER ~/.kube. - Log out and log back in.
Now that you have your cluster up and running, it’s time to deploy Portainer to the cluster.
How to deploy Portainer to a Microk8s cluster
First, enable a few add-ons to Microk8s. Log in to your Microk8s controller and issue the following commands to enable the necessary add-ons:
microk8s enable dns
microk8s enable ha-cluster
microk8s enable ingress
microk8s enable metrics-server
microk8s enable rbac
microk8s enable hostpath-storage
Before enabling Portainer, you must enable the community repository with the command:
microk8s enable community
Now, you can enable Portainer with:
microk8s enable portainer
Give Portainer enough time to spin up – you can check the status with the following command:
microk8s kubectl get pods -n portainer
When you see Portainer listed as running, you can open a web browser and point it to http://SERVER:30777 or https://SERVER:30799, where SERVER is the IP address or domain of the hosting server.
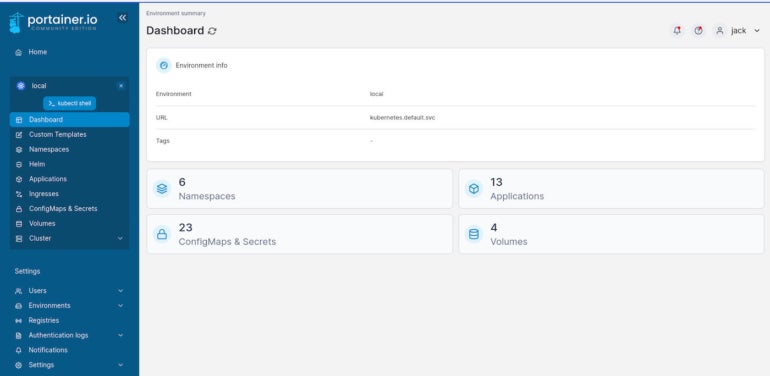
You will be prompted to create an admin user. After you take care of that, select the local environment, and you’ll find yourself on the Portainer Dashboard (Figure A), where you can start managing your Kubernetes deployments.
Figure A
Watch for the latest releases of Microk8s
Now you know how to properly deploy Portainer to a Microk8s cluster; however, since this could change, you should watch for the latest releases of Microk8s on the Snap store. As soon as the latest stable version of Microk8s is better capable of clustering, I highly recommend you upgrade to that release and re-deploy Portainer.
Source of Article