If you have massive amounts of data to be searched, Apache Solr might be exactly what you need. Jack Wallen shows you how to deploy this useful tool.

Apache Solr is an open-source search platform that can run full-text search, hit highlighting, faceted search, real-time indexing, dynamic clustering and includes database integration, rich document handling, and a user-friendly web-based UI. If you have massive amounts of data to be searched, this tool might be exactly what you need. Apache Solor is optimized for high traffic, highly scalable and fault tolerant.
SEE: Hiring Kit: Database engineer (TechRepublic Premium)
I want to walk you through the simple steps of getting Apache Solr installed and running on an instance of Ubuntu Server 22.04 (Jammy Jellyfish).
What you’ll need
In order to successfully install Apache Solr, you’ll need a running instance of Ubuntu Server 22.04 and a user with sudo privileges. Of course, you can install Apache Solr on different Linux distributions, but we’re going to concentrate on my go-to server of choice.
With that said, let’s get to the installation.
How to install Apache Solr
Log into your Ubuntu Server instance and install Java with the command:
sudo apt-get install default-jdk -y
Once Java is installed, download Apache Solr with:
wget https://downloads.apache.org/lucene/solr/8.11.1/solr-8.11.1.tgz
Make sure to visit the Apache Solr download page to ensure you’re downloading the latest version of the application.
Once the package has downloaded, extract it with:
tar -xvzf solr-8.11.1.tgz
The newly created directory includes a handy installation script that will take care of nearly everything for you. To run this script, issue the command:
sudo ./solr-8.11.1/bin/install_solr_service.sh solr-8.11.1.tgz
When the script finishes, start and enable Apache Solr with:
sudo systemctl enable --now solr
How to create a collection
We now need to create a collection that can be used to house your data. Before we do this, however, we need to create a password for the solr user that was added during the run of the installer script. To do this, issue the command:
sudo passwd solr
You’ll be prompted to type and verify a new password for the user.
Now, we can create the collection with the command:
su - solr -c "/opt/solr/bin/solr create -c datacollection -n data_driven_schema_configs"
You will be prompted for the new password you just created for the solr user.
When that creation completes, let’s add some sample data to our collection with the command:
./bin/post -c datacollection example/exampledocs/*
You’re now ready to access the web-based interface.
How to access the Apache Solr web-based interface
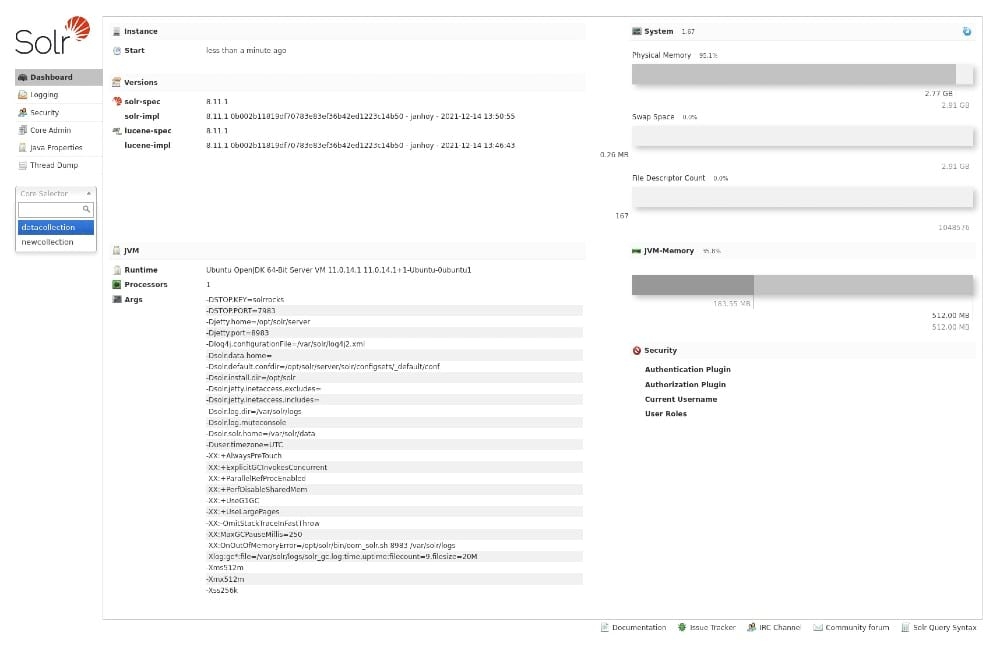
Open a web browser and point it to http://SERVER:8983. From the Core Selector drop-down (Figure A), select datacollection (which we just created).
Figure A
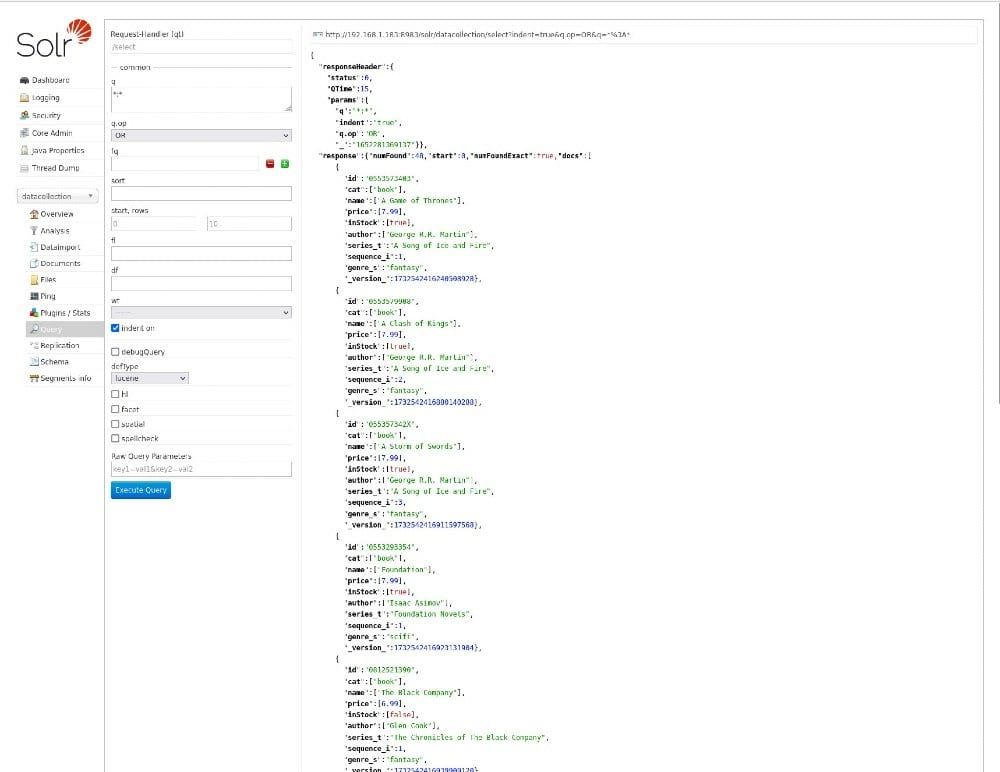
After selecting datacollection, you should find yourself on the overview, where you can see we already have data included. You can then search that data by clicking Query, modifying any of the options and clicking Execute Query (Figure B).
Figure B
Congratulations, you have successfully installed Apache Solr, created a new data collection, added sample data, and run a query on the data.
Subscribe to TechRepublic’s How To Make Tech Work on YouTube for all the latest tech advice for business pros from Jack Wallen.
Source of Article