Jack Wallen shows you how to install Cockpit on the Pop!_OS desktop Linux distribution and why you might want to.

Pop!_OS is my primary operating system. I use it every day for the vast majority of my productivity. The other day I was taking care of a few tasks and I thought: “I should really do something to make this a bit more efficient.”
It’s not like I mind using the command line or working with different tools for different tasks. But some days I would much rather do everything under one roof. Even better, I have other machines to deal with that could benefit from a more efficient solution.
SEE: 40+ open source and Linux terms you need to know (TechRepublic Premium)
Then, it dawned on me. Why don’t I do just that? There’s obviously a tool that’s perfect for the job. Said tool is Cockpit and it makes the Linux admin tasks considerably easier.
Although some consider Cockpit more of a server solution, there’s absolutely no reason why it cannot be used on a desktop machine. In fact, I wholeheartedly support using Cockpit on both servers and desktops. Why wouldn’t you want a single location to manage things like updates, users, networking, services, logs, storage, and more?
If you’d like to try your hand with a web-based GUI to manage your desktop operating system, Cockpit is the way to go. Let me show you how to install it on Pop!_OS.
What you’ll need to install Cockpit on Pop!_OS
The only things you’ll need for this are a running instance of Pop!_OS and a user with sudo privileges. That’s it.
How to install Cockpit on Pop!_OS
First, let’s run an upgrade to make sure everything is up to date. To do that, log in to your Pop!_OS system, open a terminal window, and issue the commands:
sudo apt-get updatesudo apt-get upgrade -y
If the kernel is upgraded in the process, make sure you reboot so the changes take effect.
Okay, now that the system is upgraded, let’s install Cockpit with the command:
sudo apt-get install cockpit -y
When the installation finishes, you must enable Cockpit with the help of systemctl like so:
sudo systemctl enable --now cockpit.socket
Everything should be up and running.
How to access Cockpit
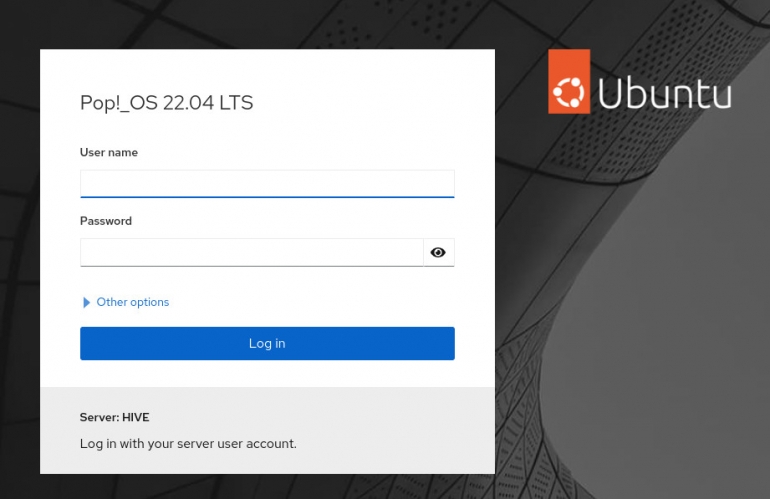
Open your default web browser and point it to http://localhost:9090. You could also use the IP address of your desktop if you like, but since you’re on the machine, localhost will do just fine. You’ll be presented with the Cockpit login window (Figure A).
Figure A
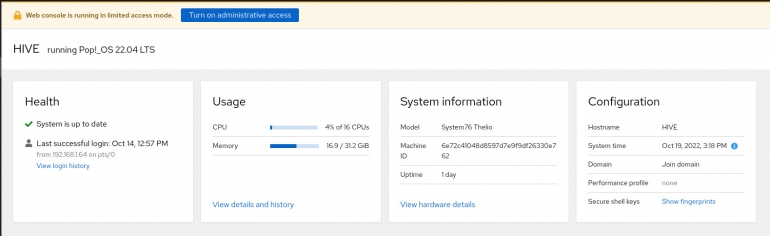
Once you’ve logged in, you’ll see a warning that you need to Turn On Administrative Access (Figure B), click that warning and, when prompted, type your user password to elevate your permissions.
Figure B
Congratulations, you’ve made managing your Pop!_OS desktop a bit easier. I’m surprised that Linux desktop distributions don’t install Cockpit by default and make the Cockpit dashboard easily accessible from the desktop menu. Even though that will probably never happen, getting Cockpit installed is quite easy.
Enjoy that simplified management of your favorite Linux distribution.
Subscribe to TechRepublic’s How To Make Tech Work on YouTube for all the latest tech advice for business pros from Jack Wallen.
Source of Article