Filerun is an open-source file share and sync system you can deploy to a server on your local LAN or a third-party cloud host that allows you to upload and access files through a secure cloud storage platform. With a user-friendly web interface, you can store and manage files, photos, movies and more. This is a great tool for any business (or home) that even includes a built-in versioning system.
SEE: 40+ open source and Linux terms you need to know (TechRepublic Premium)
I’m going to demonstrate how to install Filerun on AlmaLinux.
What you’ll need
To get Filerun installed, you’ll need an instance of AlmaLinux and a user with sudo privileges. That’s it … let’s get to work.
How to install the LAMP server
The first thing to be done is the installation of the LAMP (Linux Apache MariaDB PHP) stack. Log into your AlmaLinux server and install Apache with the command:
sudo dnf install httpd -y
Once that installation completes, start and enable the web server with the command:
sudo systemctl enable --now httpd
Next, we’ll install the database server (MariaDB). Do this with the command:
sudo dnf install mariadb-server -y
After the installation completes, start and enable MariaDB with the command:
sudo systemctl enable --now mariadb
Set the MariaDB root user password with:
sudo mysql_secure_installation
When prompted to enter the current MariaDB password, simply hit Enter on your keyboard. You can then type y to set a new root user password. Once you’ve done that, answer y to the remaining questions.
How to create the database
We can now create our database. Access the MariaDB console with:
sudo mysql -u root -p
When prompted, type the root user password you just set.
Create the database:
CREATE DATABASE filerun;
Create a new MariaDB user with access to the new database:
GRANT ALL ON filerun.* to 'filerun'@'localhost' IDENTIFIED BY 'PASSWORD';
Where PASSWORD is a strong/unique password.
Flush the privileges and exit the db console with:
FLUSH PRIVILEGES;
exit
How to install PHP and ionCube
We now need to install the required PHP version. First, enable PHP 7.4 with:
sudo dnf module enable php:7.4
Install PHP 7.4:
sudo dnf install php-fpm
Start and enable PHP-FPM:
sudo systemctl enable --now php-fpm
Install the necessary PHP modules with the command:
sudo dnf install php-mbstring php-opcache php-pdo php-mysqlnd php-gd php-xml php-zip php-json -y
Download the ionCube loader with:
cd /usr/lib64/php/modulessudo wget http://downloads3.ioncube.com/loader_downloads/ioncube_loaders_lin_x86-64.tar.gz
Unpack ionCube:
sudo tar xvfz ioncube_loaders_lin_x86-64.tar.gz
We now need to create a file that gets automatically appended to the Filerun configuration by PHP. Create the new file with:
sudo nano /etc/php.d/01_filerun.ini
Paste the following contents into that file:
expose_php = Offerror_reporting = E_ALL & ~E_NOTICEdisplay_errors = Offdisplay_startup_errors = Offlog_errors = Onignore_repeated_errors = Offallow_url_fopen = Onallow_url_include = Offvariables_order = "GPCS"allow_webdav_methods = Onmemory_limit = 128Mmax_execution_time = 300output_buffering = Offoutput_handler = ""zlib.output_compression = Offzlib.output_handler = ""safe_mode = Offregister_globals = Offmagic_quotes_gpc = Offupload_max_filesize = 20Mpost_max_size = 20Menable_dl = Offdisable_functions = ""disable_classes = ""session.save_handler = filessession.use_cookies = 1session.use_only_cookies = 1session.auto_start = 0session.cookie_lifetime = 0session.cookie_httponly = 1date.timezone = "UTC"zend_extension = /usr/lib64/php/modules/ioncube/ioncube_loader_lin_7.4.so
Save and close the file. Restart PHP-FPM:
sudo systemctl restart php-fpm
How to install Filerun
Change into the Apache document root with the command:
cd /var/www/html
Create a new directory with:
sudo mkdir filerun
Change into that directory with:
cd filerun
Download the latest version of Filerun with:
sudo wget -O FileRun.zip https://filerun.com/download-latest-centos-8
Unpack the downloaded file with:
sudo unzip FileRun.zip
Give the newly system/data directory the proper permissions with:
sudo chown -R apache:apache system/data
Change the SELinux content for the system/data folder with:
sudo chcon -t httpd_sys_rw_content_t -R system/data
Make sure HTTP traffic can get through the firewall with:
sudo firewall-cmd --zone=public --add-service=http --permanent
Reload the firewall:
sudo firewall-cmd --reload
Create an Apache configuration file with the command:
sudo nano /etc/httpd/conf.d/filerun.conf
In that file, paste the following content:
<VirtualHost *:80> ServerName filerun.example.com DocumentRoot /var/www/html/filerun <Directory "/var/www/html/filerun"> Options Indexes FollowSymLinks AllowOverride All Require all granted </Directory> ErrorLog /var/log/httpd/filerun.error.log CustomLog /var/log/httpd/filerun.access.log combined</VirtualHost>Save and close the file. Restart Apache with:
sudo systemctl restart httpd
How to finish up the installation
Open a web browser and point it to http://SERVER (where SERVER is either the IP address or domain of the hosting server). You should be greeted by a Welcome to FileRun! window (Figure A).
Figure A
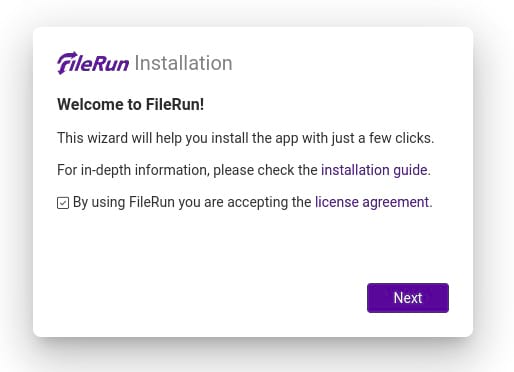
Click Next and you should see that everything is prepped and ready for the installation (Figure B).
Figure B
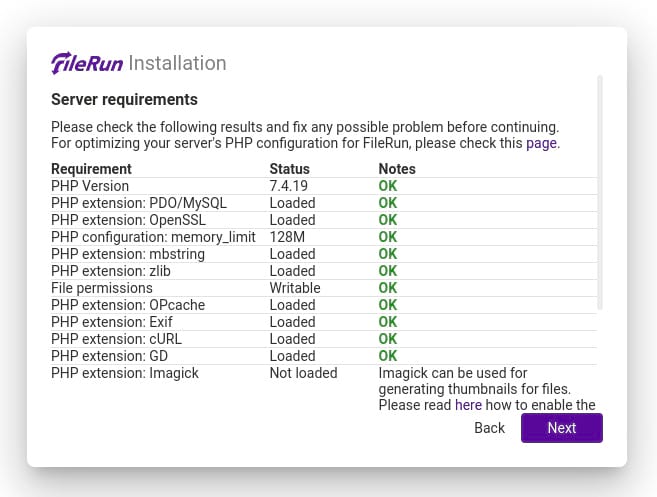
Click Next and, in the resulting window (Figure C), fill out the necessary information for the database.
Figure C
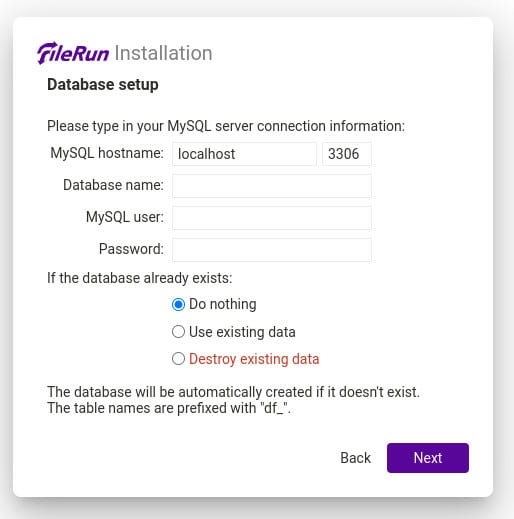
The database name will be filerun, the MySQL user will be filerun and the password will be what you set in the MariaDB console. Once you’ve added the information, click Next.
Once the installation completes, you’ll be presented with a window that includes the username and password for Filerun (Figure D). Note that information and click Next.
Figure D

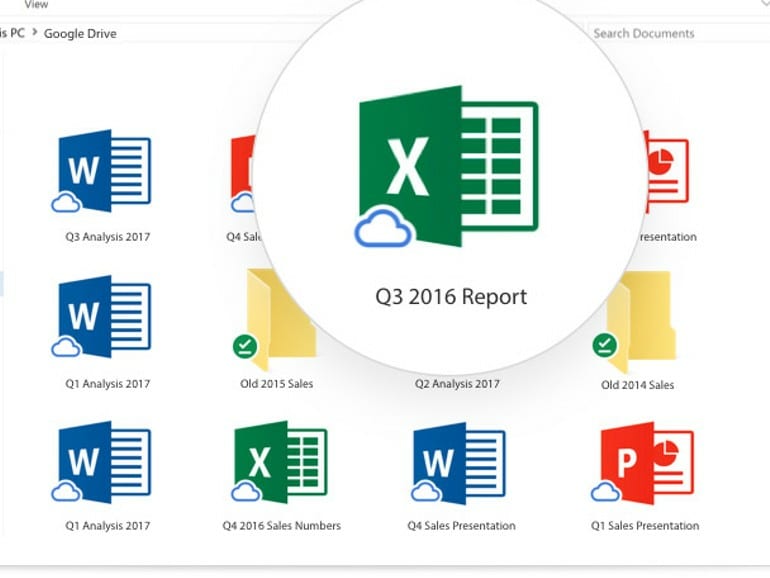
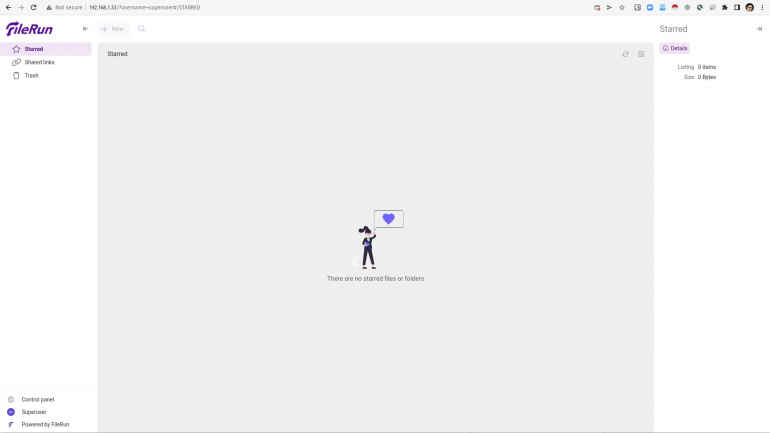
Click Next and you can log in with the default user credentials. You will then be presented with the main Filerun page (Figure E), where you can start uploading content to your heart’s content.
Figure E
Congratulations, you now have a locally-hosted, cloud-based file sync and share ready to serve your business or personal needs.
Source of Article