If you’re looking for a flexible and powerful database that can handle multiple modalities, let Jack Wallen show you how to install ArangoDB.

Image: iStockphoto/EvgeniyShkolenko
Your company depends on data. To that end, you probably have deployed any number of databases to house and use that data. You might have databases that cover graph, document, and key-value data models, all of which probably use a specific database.
What if you could use one database to cover all of those modalities? Such a database exists–ArandoDB. This database is not only multi-modal, it features:
-
Performance scaling
-
Consolidation
-
Decreased operational complexity
-
VPack support
-
Fault tolerance
-
Open source
-
Run queries on multiple documents or collections
-
Support for replication and sharding
-
Includes a powerful query language (AQL)
-
Installs on Linux, macOS, Windows, Kubernetes, Docker
-
Supports the following clients: Java, JavaScript, NodeJS, Go, Python, Elixir, R, and Rust
Let’s get ArangoDB installed on Ubuntu Server 20.04.
SEE: MSP best practices: Server deployment checklist (TechRepublic Premium)
What you’ll need
- An updated instance of Ubuntu Server 20.04
- A user with sudo privileges
How to install ArangoDB
The first thing to be done is the addition of the ArangoDB repository. Before we can do that, we need to add the necessary GP key for the repository. Log in to your Ubuntu Server instance and issue the command:
wget -q https://download.arangodb.com/arangodb34/DEBIAN/Release.key -O- | sudo apt-key add -
With the key taken care of, add the repository with the command:
echo 'deb https://download.arangodb.com/arangodb34/DEBIAN/ /' | sudo tee /etc/apt/sources.list.d/arangodb.list
Update apt with the command:
sudo apt-get update
Install a final dependency with:
sudo apt install apt-transport-https -y
Finally, install ArangoDB:
sudo apt -y install arangodb3
During the installation, you’ll be asked to set an ArangoDB admin password (Figure A).
Figure A
” data-credit rel=”noopener noreferrer nofollow”>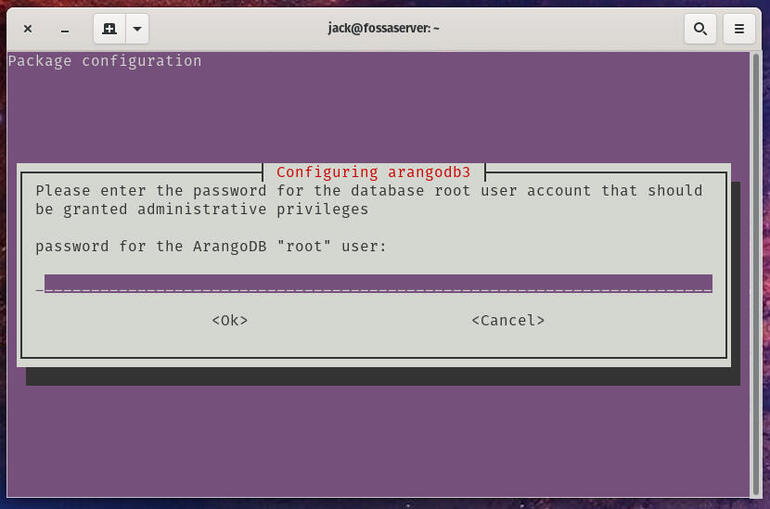
Setting the ArangoDB admin password.
Type and verify the password and then you’ll be asked if you want to upgrade the database files (Figure B).
Figure B
” data-credit rel=”noopener noreferrer nofollow”>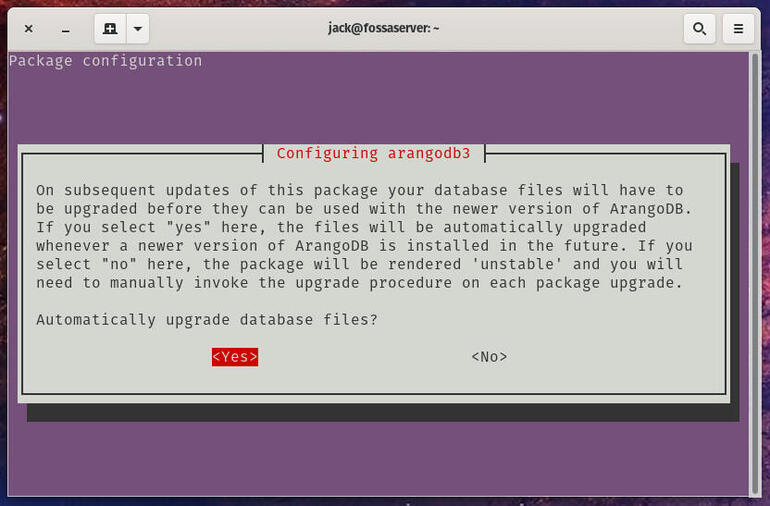
Updating the ArangoDB database files.
Make sure to select Yes for the database files upgrade.
Next, select Auto for the database storage engine (Figure C).
Figure C
” data-credit rel=”noopener noreferrer nofollow”>
Selecting your ArangoDB storage engine.
When prompted, select Yes to backup the database before upgrading (Figure D).
Figure D
” data-credit rel=”noopener noreferrer nofollow”>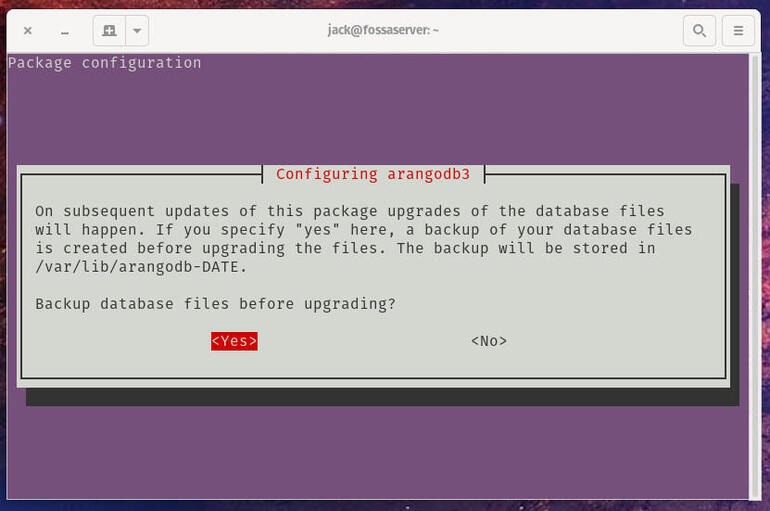
Make sure to backup the database before you upgrade.
The installation will proceed and complete in less than a minute. When your prompt is returned, the installation is complete.
Start and enable the ArangoDB service with the commands:
sudo systemctl start arangodb3
sudo systemctl enable arangodb3
How to access the ArangoDB shell
To work with ArangoDB, you must access the shell, much like how you work with MySQL or MariaDB. In order to do that, issue the command:
arangosh
You will be prompted for the admin password you created during installation. Upon successful authentication, the ArangoDB shell will appear, where you can get to work managing your databases (Figure E).
Figure E
” data-credit rel=”noopener noreferrer nofollow”>
The ArangoDB shell is ready for your input.
Create your first database with:
db._createDatabase("trtestdb");
Create a new user and give that user access to the newly created database with the commands:
var users = require("@arangodb/users");
users.save("trtestuser@localhost", "PASSWORD");
users.grantDatabase("trtestuser@example", "trtestdb");
Where PASSWORD is a strong/unique password.
Verify your new database was created with the command:
db._databases()
You should see trtestdb listed.
Exit out of the shell with the Exit command and then connect again, this time using the new user and database, with the command:
arangosh --server.username "trtestuser@localhost" --server.database trtestdb
There you go, you’ve installed ArangoDB, created a new database and user, and connected to the shell. Congratulations on taking your first step with this multimodal database.
Subscribe to TechRepublic’s How To Make Tech Work on YouTube for all the latest tech advice for business pros from Jack Wallen.

Data Center Trends Newsletter
DevOps, virtualization, the hybrid cloud, storage, and operational efficiency are just some of the data center topics we’ll highlight. Delivered Mondays and Wednesdays
Also see
Source of Article