OpManager is an outstanding platform for network and device monitoring. Jack Wallen shows you how to get it up and running on Linux.

Any IT manager will tell you how important it is to be able to view the performance of various assets connected to a network. Without the ability to track the performance of these systems, it can be incredibly challenging to keep a network up and running to meet the needs of the company. To that end, what tools should you be using for such a task?
SEE: Hiring Kit: Network Engineer (TechRepublic Premium)
ManageEngine OpManager is a comprehensive network, system and application management tool that provides real-time, in-depth visibility and analysis of critical IT resources such as network devices, WAN or VoIP links, servers, virtual servers and switches.
I want to show you how easy it is to install OpManager on Linux, specifically Ubuntu Desktop 20.04. This platform can be installed on just about any Linux distribution, as well as Windows and numerous third-party cloud services (such as AWS, Google and Azure).
What you’ll need
To install OpManager, you’ll need a running instance of a Linux desktop operating system and a user with sudo privileges. With those two things at the ready, let’s get our hands dirty.
How to install OpManager
Log into your instance of Linux, open a terminal window, and download the installer script with the command:
wget https://www.manageengine.com/network-monitoring/29809517/ManageEngine_OpManager_64bit.bin
If you get an error that wget isn’t installed, install it with:
sudo apt install wget -y
Once the file downloads, run it with:
sudo bash ./ManageEngine_OpManager_64bit.bin
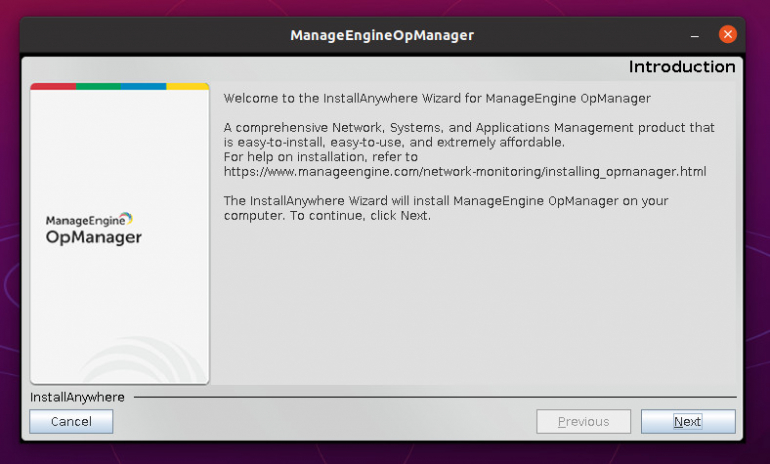
After a moment, you’ll be greeted by the OpManager installer wizard (Figure A).
Figure A
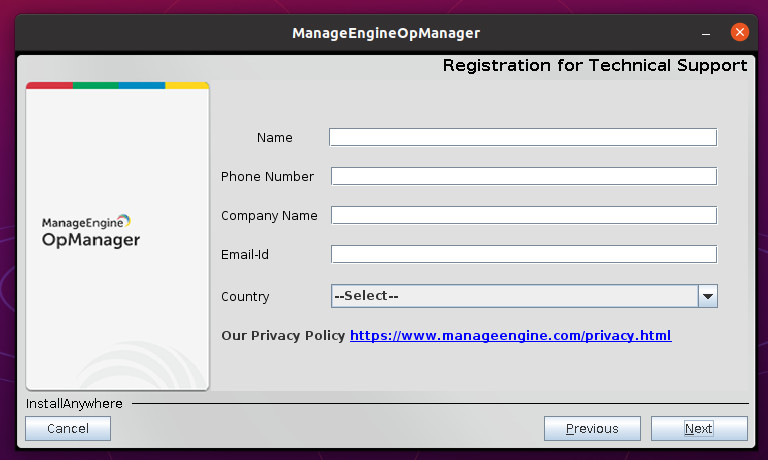
Click Next. Agree to the license and click Next again. You will then be prompted to sign up for support by entering a name, phone number, company name, email, and country (Figure B).
Figure B
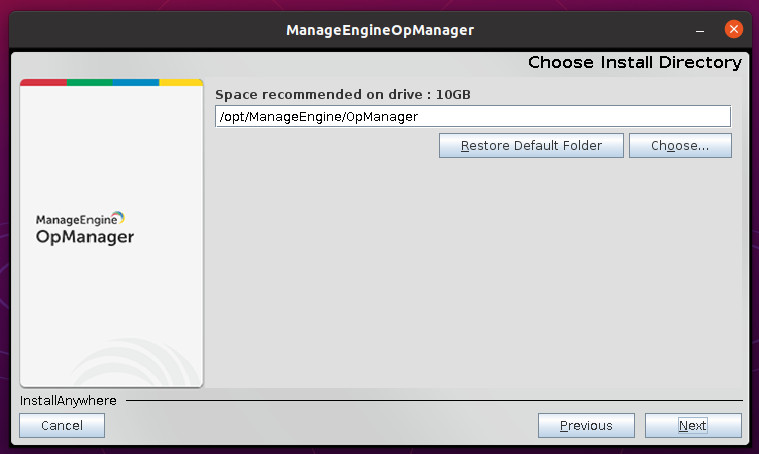
In the next screen (Figure C), select a default folder for the installation (I recommend keeping the default of /opt/ManageEngine/OpManager) and click Next.
Figure C
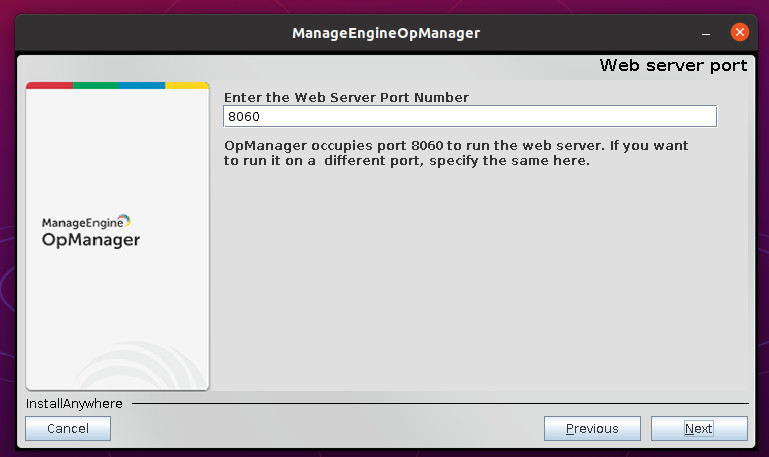
You will then be prompted to enter a port number for the webserver. The default is 8060 (Figure D). If that port works for you, click Next, otherwise enter a different value and then continue with the installation.
Figure D
At this point, you’ll need to accept the settings for your installation by clicking Install (Figure E).
Figure E
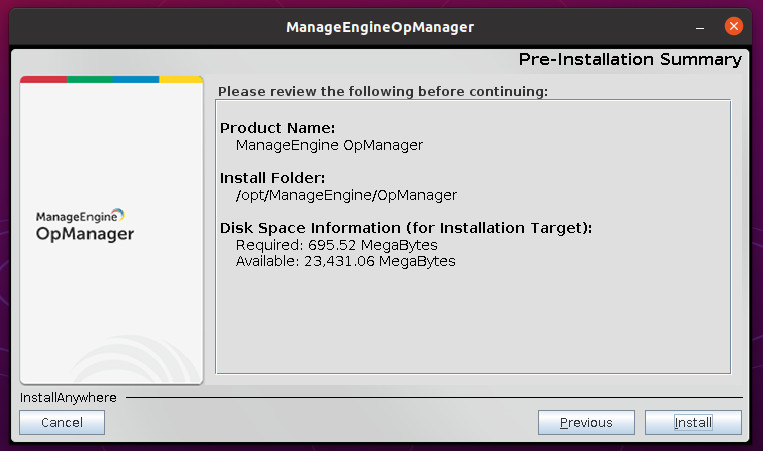
The installation shouldn’t take too much time to complete (2-5 minutes, depending on your hardware). When it finishes up, click Done.
The next step is to create a systemd startup file. Change into the OpManager default directory with:
cd /opt/ManageEngine/OpManager/bin
To create the startup file, issue the command:
sudo sh linkAsService.sh
You should now be able to start and enable the service with:
sudo systemctl enable --now OpManager
At this point, I found it necessary to reboot the machine (otherwise the OpEngine service would run but immediately exit). After logging back in, the OpEngine service started without a problem and I could point a web browser to http://SERVER:8060 (where SERVER is the IP address or domain of the hosting machine) and log into with the credentials admin/admin (Figure F).
Figure F
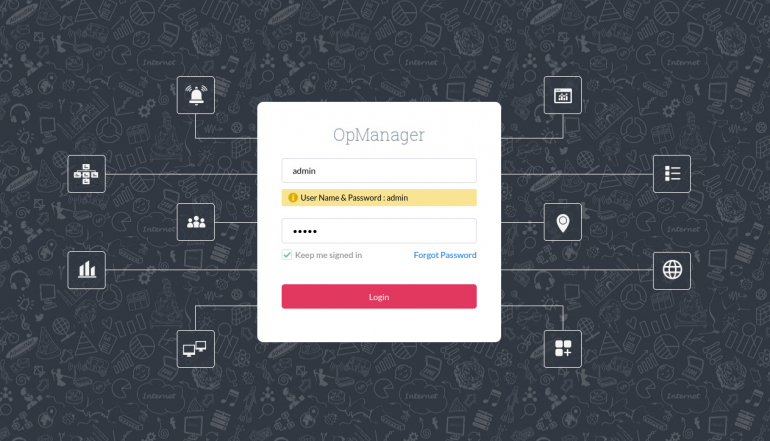
You should then find yourself on the OpEngine main window (Figure G), where you can start configuring and working with the platform.
Figure G
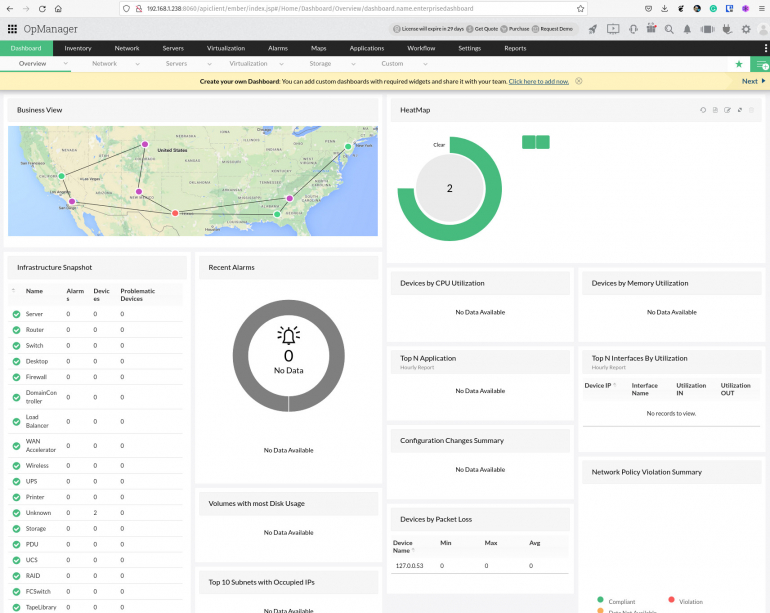
Congratulations, you now have a tool for keeping tabs on your network and all of the associated devices.
Subscribe to TechRepublic’s How To Make Tech Work on YouTube for all the latest tech advice for business pros from Jack Wallen.
Source of Article


