If you have a mechanical keyboard that allows for hot swappable key switches, Jack Wallen shows you how easy this is to take care of.

Amazon
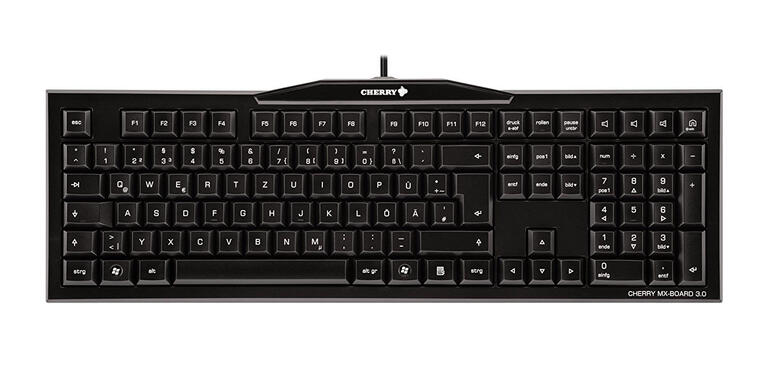
If you’ve purchased a keyboard that includes hot swappable mechanical keys, you’ve hit the proverbial jackpot of keyboards. Why? Because it means you can always switch out a broken switch, change your switch type (say, from a linear to a clicky switch), or even remap your keyboard.
Chances are pretty good that if you bought a mechanical keyboard with replaceable switches, you know how to do just that. However, on the off-chance the how-to of this task evades you, let me help you out with that.
Before you dive into swapping out a keyboard key, it is very important that you understand one thing: Not every mechanical keyboard has keys that can be easily swapped out. Most keyboards, even those of the mechanical nature, have keys that are soldered to the circuit board. What that means is that you must desolder the key before it can be removed, which is probably above your paygrade, so you should avoid diving down that rabbit hole.
However, if you purchased a keyboard that does offer hot swappable key switches, their removal is actually quite easy–so long as you have the right tools.
SEE: Hardware inventory policy (TechRepublic Premium)
What you’ll need
Outside of having a keyboard with hot swappable keys, you’ll need a keycap/key switch puller. You can purchase such a tool from Amazon for around $5.00.
If you don’t purchase a keycap puller that also includes a key remover, you’ll need to purchase the key puller separately. I do find the combo tools work great. If you’re of the DIY sort, you can always make your own keycap puller by bending the ends of paperclips into hooks and hooking the ends under the cap and pulling upward. As for the switch, you can use needle nose pliers, but you should be very careful to not crack the plastic. In my experience, the low cost of the key puller is definitely worth avoiding the frustration you’ll find with the DIY solution.
How to remove the keycap
In order to remove the keycap you insert the squared off end of the puller, such that the wires slip between the keys (Figure A).
Figure A
” data-credit rel=”noopener noreferrer nofollow”>
The keycap end of the puller.
Once the wires are securely under the keycap, pull upward to pop off the key.
How to remove the key switch
With the keycap removed, you can now remove the switch. To do this, use the switch end of the puller (Figure B).
Figure B
” data-credit rel=”noopener noreferrer nofollow”>
The switch end of the key puller.
Make sure to clip the bends of the puller under the switch and gently lift–the key should pop out. Once you have the key out, you can then replace it with a new key by lining up the pins and pressing down gently. With the switch in place, carefully pop the keycap back on and you’re good to go.
Subscribe to TechRepublic’s How To Make Tech Work on YouTube for all the latest tech advice for business pros from Jack Wallen.

Best of the Week Newsletter
Our editors highlight the TechRepublic articles, downloads, and galleries that you cannot miss to stay current on the latest IT news, innovations, and tips. Fridays
Also see
Source of Article