
NordVPN is one of many products that can secure your PC with a virtual private network. The program offers a feature called Meshnet that lets you create encrypted tunnels between devices, allowing you to set up your own VPN server. Instead of connecting to a third-party VPN server, you connect directly and securely to other devices via Meshnet.
For example, you may want to create a secure VPN tunnel between a work device and a personal device to access one remotely or exchange files between them. Such a scenario offers higher speeds, lower latency and greater security than a traditional VPN. Plus, you’re able to control the permissions and privacy so only authorized people and devices can connect.
Meshnet has been a part of NordVPN for a long time but only as a paid option – now, Meshnet is available for free for NordVPN users. Why should you use Meshnet, and how do you use it? Let’s check it out.
Jump to:
Benefits of using NordVPN Meshnet
Here are some of the benefits of setting up NordVPN Meshnet.
Transfer large files. Do you need to share a large file or group of files with a colleague, consultant, client or other person? Instead of storing the files on a public file service or website, you can use Meshnet to keep them on your computer and then give specific people access through the VPN. Other people need Meshnet to access your shared files, but they can download the program for free.
Access devices remotely. You’re at the office and need to access files on a PC at home. Typically, you’d have to set up the remote access capability ahead of time, but with Meshnet, you can directly connect to a device in another location and even reroute internet traffic to it.
Connect multiple devices from other people. Using Meshnet, you’re able to connect devices from different people into a single network, so you and your colleagues can all use the same Wi-Fi connection no matter where you reside. This means that everyone is using your device’s IP address as a VPN server. You can link up to 10 devices that you own and as many as 50 external devices.
Gaming. When it’s time to take a break from work, you can use Meshnet to kick off multiplayer games with people in other locations, and without the latency that usually occurs in this type of scenario.
How to set up NordVPN Meshnet on your computer or device
To get started, browse to the NordVPN Meshnet page and click the Try Free Meshnet button. Select the icon for your operating system — Windows, macOS, Linux, Android or iOS — and download the appropriate installation file. During setup, you’ll need to sign in with your existing NordVPN account or create a new account.
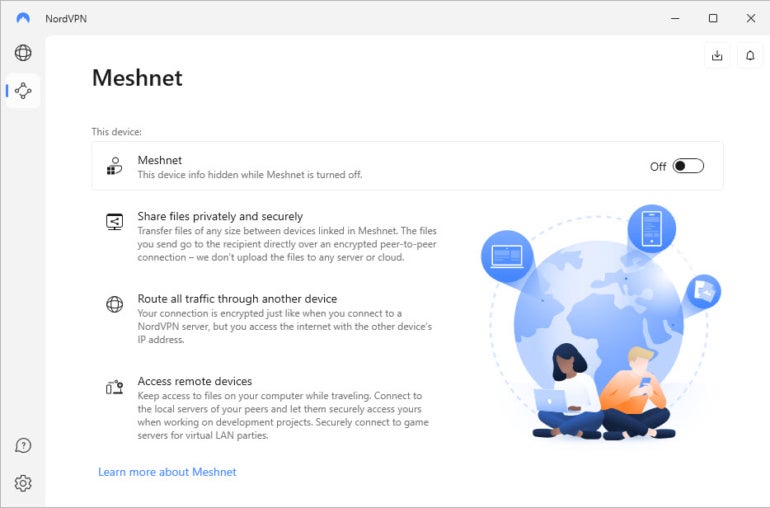
At the Meshnet window that pops up next, turn on the switch for Meshnet (Figure A).
Figure A
The next screen explains that you can link up to 10 devices of your own and up to 50 external devices. Click Continue (Figure B).
Figure B

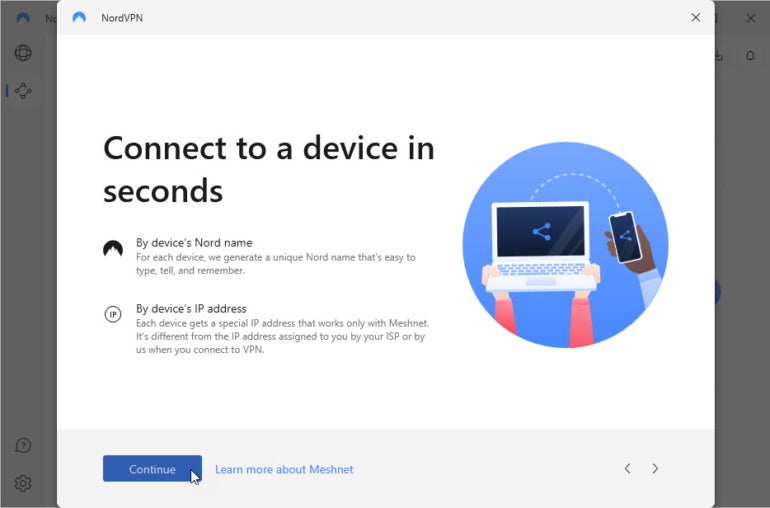
Next, you can connect other devices running Meshnet by its Nord name or IP address. Click Continue (Figure C).
Figure C
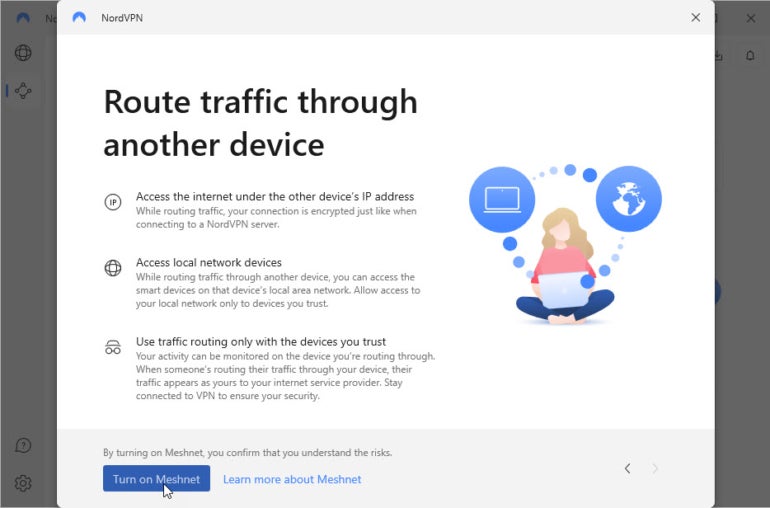
The final setup screen lets you route internet traffic through another device. When ready, click the button for Turn On Meshnet (Figure D).
Figure D
How to set up other devices on your Meshnet network
Other people who want to join your Meshnet will need to follow the same steps to install and set up NordVPN and Meshnet on their devices. The process differs slightly for different operating systems.
On a Mac, install the NordVPN program from the Mac App Store and then launch it from the Applications folder. After signing into the app with your Nord account, click the third icon on the left for Meshnet and then turn on the switch for Meshnet. Follow the same setup screens as in Windows to enable Meshnet (Figure E).
Figure E

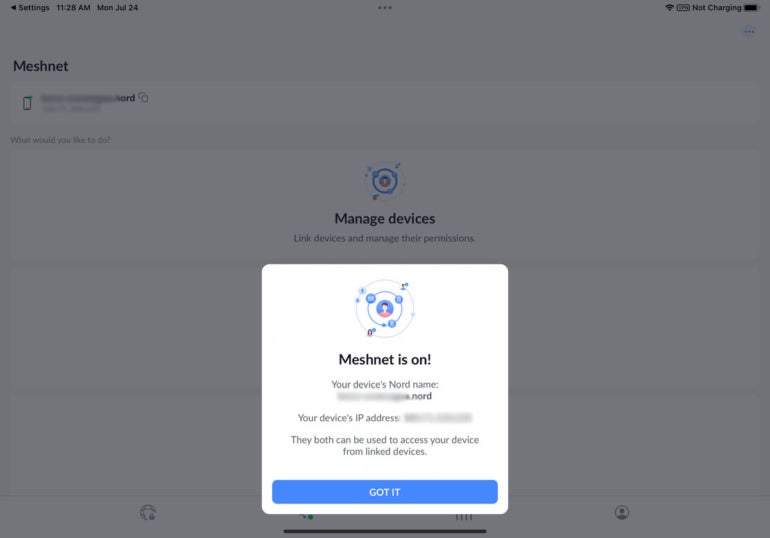
On an iPhone or iPad, download the NordVPN program from the App Store. On an Android device, download the app from Google Play. Sign into the app and then tap the button for Turn On Meshnet (Figure F).
Figure F
View all the devices on your Meshnet network
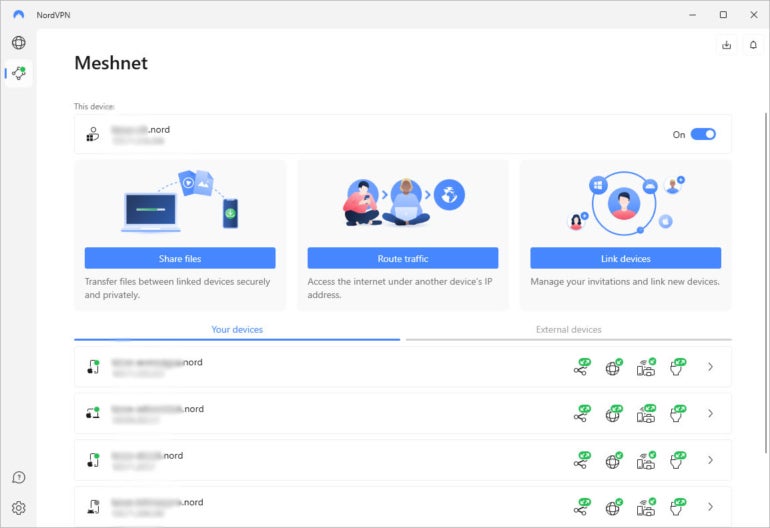
The Nord-assigned names and IP addresses of any devices you set up under your Nord account will automatically appear in the Meshnet window (Figure G).
Figure G
Add an external device to your Meshnet network
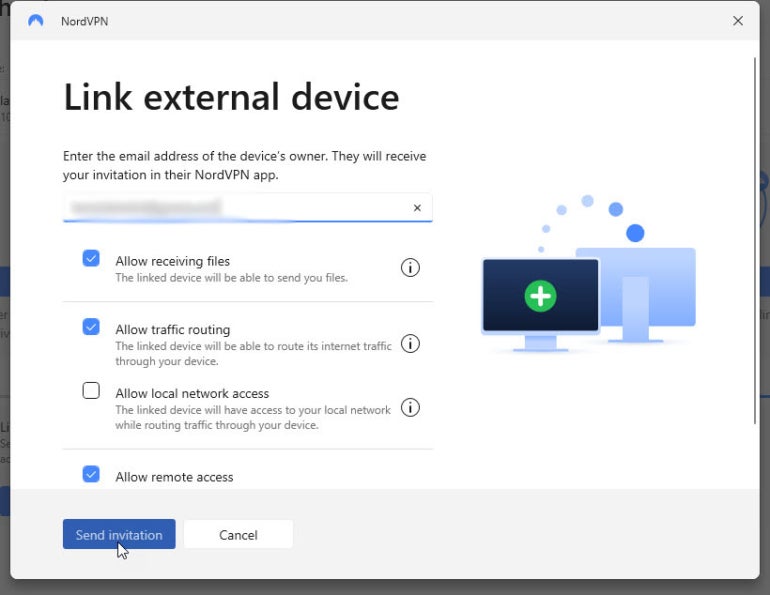
To add an external device, click the heading for External Devices and then click the button for Link External Device. At the next screen, select which options you want to enable for external devices, such as Allow Receiving Files or Allow Remote Access. Type the email address of the user of the external device and then click Send Invitation (Figure H).
Figure H
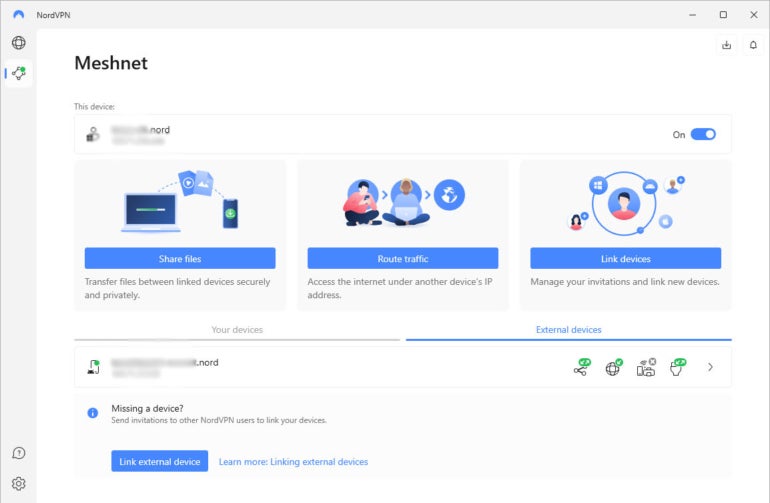
The other person accepts the invitation via email or within the NordVPN app. Then, you should see that device listed in the app on your end under External Devices (Figure I).
Figure I
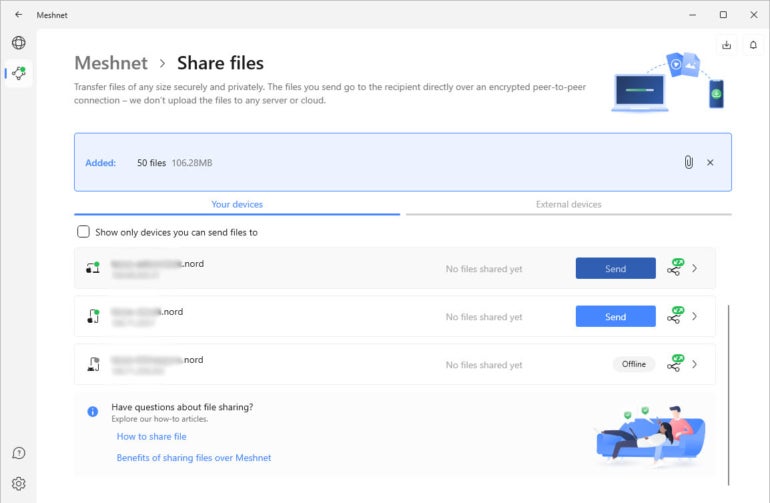
Share files with other people on your Meshnet network
To share a file with another device in your Meshnet, click the Share Files button. Drag and drop or select the file, files or folder you wish to share. Then, click the Send button for the device with which you want to share the files (Figure J).
Figure J
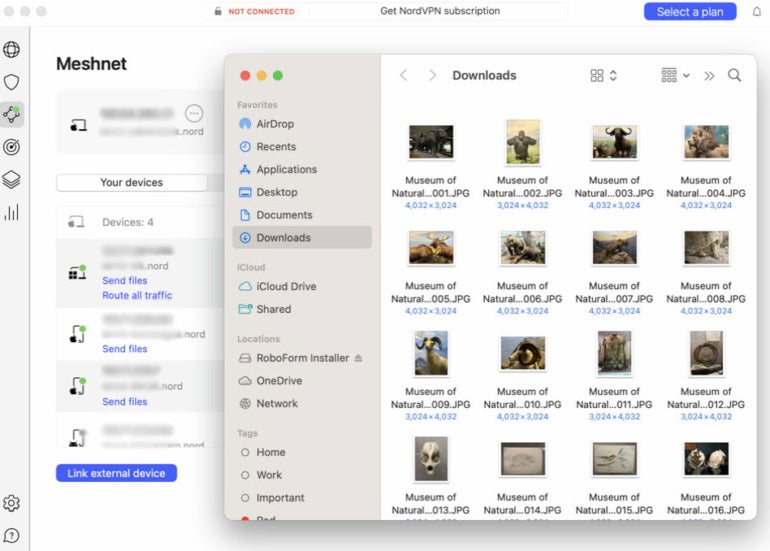
The person using the other device accepts the file transfer. Then, the files are sent to the default Downloads folder where the other person can access them (Figure K).
Figure K
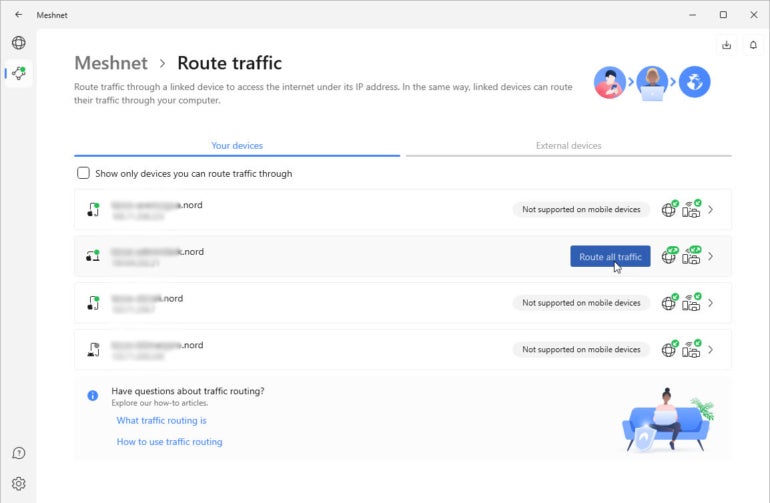
Route traffic through another device on your Meshnet network
You can route all internet traffic on your Meshnet through a specific device using that device’s IP address, though you can only do this on a computer – not on a mobile device. On your current device, click the button for Route Traffic at the main Meshnet screen. Choose another computer in your Meshnet and then click the button for Route All Traffic (Figure L). All network traffic will now be routed to that other PC. To disable, click the button for Stop Routing For That Computer.
Figure L
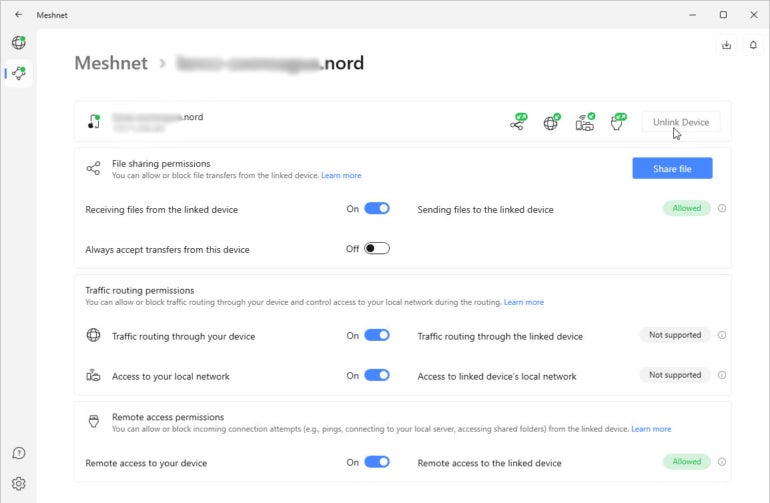
Manage devices on your Meshnet network
Finally, you can manage all the devices on your Meshnet from the NordVPN Meshnet panel. For each device, you’re able to allow or disallow file transfers, traffic routing, access to your local network and remote access. You can also unlink a device to remove it from your network (Figure M).
Figure M
Source of Article