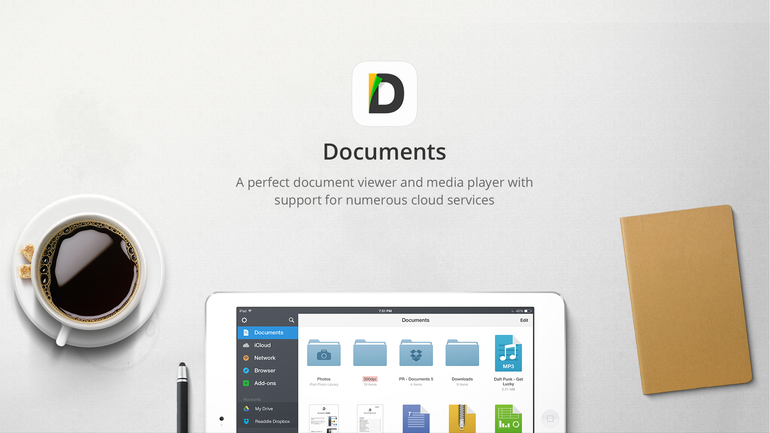
You can use the Documents by Readdle app to work with files on your device and in the cloud.

Image: Readdle
Apple offers its own Files app as a type of file manager for your iPhone or iPad. The app does let you access local and online files, but it doesn’t provide a wealth of options. If you need a more powerful file manager for your Apple device, you may want to check out the Documents by Readdle app.
SEE: Apple iOS 13: A cheat sheet (free PDF) (TechRepublic)
Freely available for iOS and iPadOS, the basic version of Documents acts as a central hub for your files with access to your device’s photo albums and other folders. You can grab files stored in the cloud through such services as OneDrive, Dropbox, Box, Google Drive, and SharePoint. You can manage your files by copying, moving, deleting, and sharing them. You can even view and open many types of files.
First, download Documents by Readdle for your iPhone or iPad from Apple’s App Store. Open the app to see the default folders and sample files already collected (Figure A).
Figure A

Tap the Photo Albums folder to view any photos and videos stored on your device. Tap the iTunes Files folder to see any files that you imported from your computer through iTunes File Sharing. Tap the Downloads folder to access any files you’ve downloaded through Safari.
As for the sample files, you can either view or delete them. To delete a file (or folder) press down on it and then drag it to the section in the left pane that says: “Drop here to delete.” (Figure B)
Figure B

Next, you might want to set up connections to different cloud-based file services so you can view and manage your online files within Documents. In the left pane, tap the name of the service you want to add, such as iCloud, Dropbox, Google Drive, or Box. If you don’t see the service you wish to add, tap the command to Add Connection and then choose the appropriate service (Figure C).
Figure C

Sign in to the service you selected and grant the necessary permissions. You should see the folders and files stored on that service. The service itself then appears in the left pane under Connections. Continue until you’ve added all the cloud-based file services you wish to access here (Figure D).
Figure D

In Documents, you can also connect to a server in your organization or an NAS or other network storage at your home or home office. To do this, tap the command to Add Connection and then choose the appropriate connection based on the server—WebDAV Server, Windows SMB, FTP Server, or SFTP Server (Figure E). For example, to connect to my Synology NAS, I would choose the Windows SMB option. Enter your username and password and you’ll see the folders and files for which you have access.
Figure E

You can add more files to manage, and you can add them to any location. Tap one of your cloud-based services to upload a file to it, or tap the My Files link at the top to add a file to the default location for the app. To upload a file to your selected location, tap the plus icon in the lower right. Tap the thumbnail for Photos to upload an image from your device’s photo library. Tap the thumbnail for Files to access a file from the Files app on your device (Figure F).
Figure F

You can also import a file from your computer. Tap the Computer thumbnail in the Import From pane. On your PC, open the link listed in the Connect to Computer window and then type the code displayed. Your PC and iPhone or iPad are then connected through the website, while your computer mirrors the My Files location in the Documents app. On your PC, click the Upload button and then select a file to import it into the Documents app (Figure G). Click the Disconnect button on your device when done.
Figure G

Tap the plus icon in the Documents app again. Tap the New Folder icon to create a folder in your current location. Tap the Create PDF icon and you can create and edit a PDF. Tap the Scan Document icon to scan a document with your device’s camera. Tap the Text File icon to create a text file. And tap the Take Photo icon to snap a photo with your device. Further, you can import a file into your current location from any of your cloud storage sites (Figure H).
Figure H

Next, you can add frequently used folders and files to the left pane for quick access. Hold down an item and then drag it to the Favorites section on the left (Figure I).
Figure I

You can easily manage any folder or file. Tap the ellipsis icon in the lower right of a folder or file. From the popup menu, you can now copy, move, compress, duplicate, rename, delete, email, upload, or share the item (Figure J).
Figure J

Finally, you can open many different file types within Documents, including Microsoft Office documents, PDFs, and images such as JPGs and PNGs. You can play different kinds of audios and videos, including MP3s, WAVs, MP4s, and MOVs. And you can extract ZIP files. Just tap the file you wish to open or play, and it launches automatically in Documents. From there, tap the Ellipsis icon and you can email the file, print any type of document or text file, and share it (Figure K).
Figure K


Apple Weekly Newsletter
Whether you want iPhone and Mac tips or the latest enterprise-specific Apple news, we’ve got you covered. Delivered Tuesdays
Also see
Source of Article