

You’re participating in a virtual meeting using your iPhone or iPad and need a whiteboard to demonstrate or visually depict ideas. With iOS and iPadOS 16.2, Apple’s Freeform app is worth trying.
With Freeform, you create a whiteboard by drawing on it, adding lines and other shapes, inserting text boxes, and importing photos and videos. When done with your meeting, you’re able to share your whiteboard, save it as a PDF or print it. You can also create and populate multiple whiteboards for different projects and teams.
Jump to:
What you’ll need to get the Freeform app
To get the Freeform app, make sure your device is running iOS/iPadOS 16.2 or higher.
Go to Settings, select General and then select Software Update. You’ll be told that the OS is up to date or prompted to download and install the latest update. After the update, you should then see the Freeform app on your home screen. If not, you can also download it from the App Store.
The app works the same on both iOS and iPadOS, so the steps here will apply no matter the device you’re using.
SEE: BYOD Approval Form (TechRepublic Premium)
How to use the Freeform app
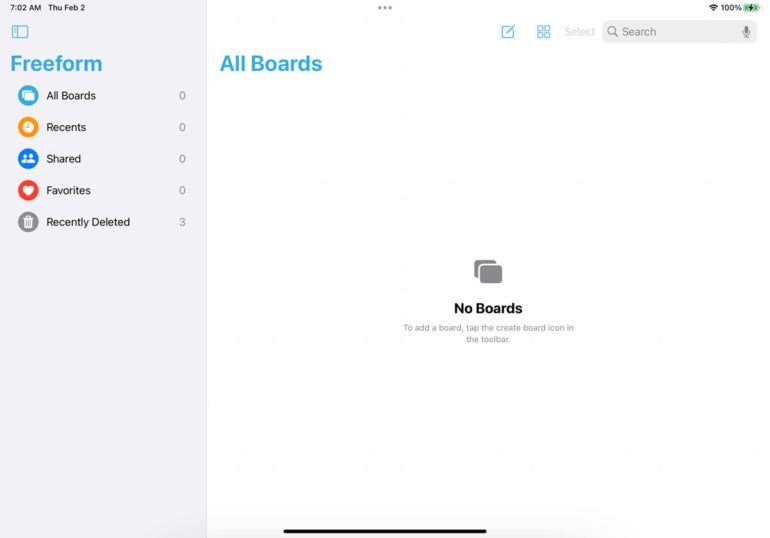
Open the app on your iPhone or iPad. Tap the icon at the top to create a board (Figure A).
Figure A
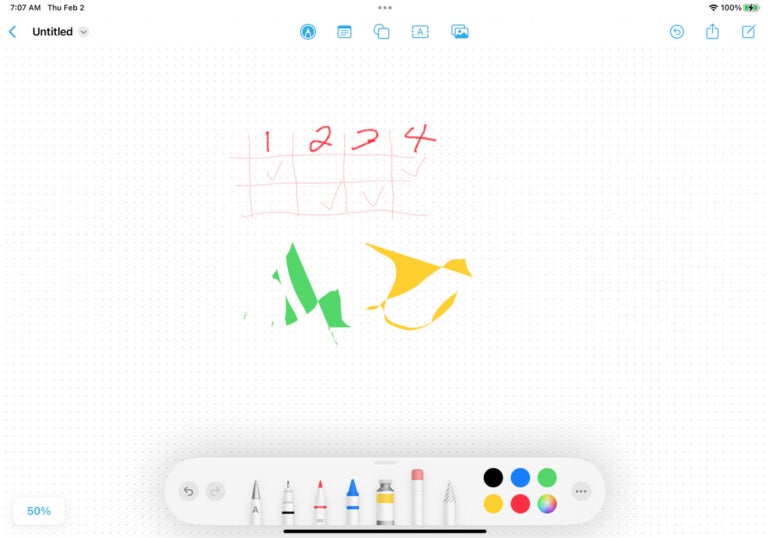
At the board creation screen, tap the first icon at the top. That displays a palette at the bottom with pen, pencil and other tools that you can use to mark up the screen. Choose the tool you wish to use, select a color and then draw on the screen (Figure B).
Figure B
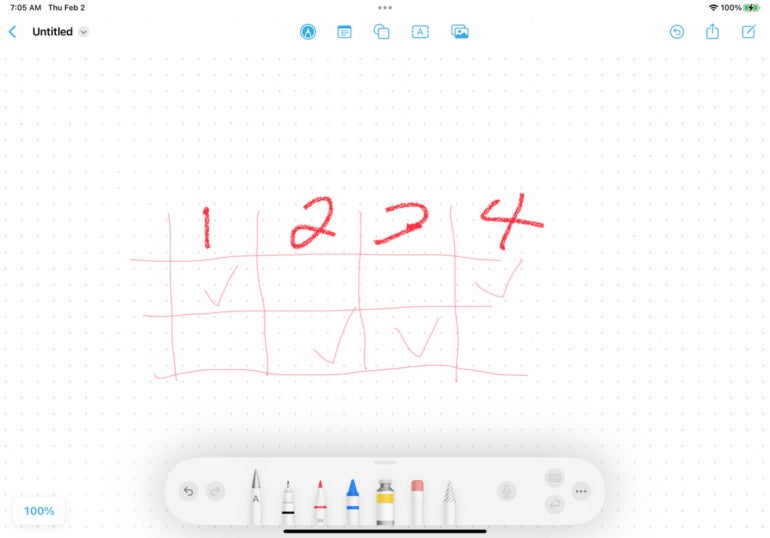
The first tool on the palette moves whatever you drew around the whiteboard. The next three tools draw at various degrees of thickness. The next tool creates and fills in a freeform object. The tool after that erases whatever area you select on the board (Figure C).
Figure C
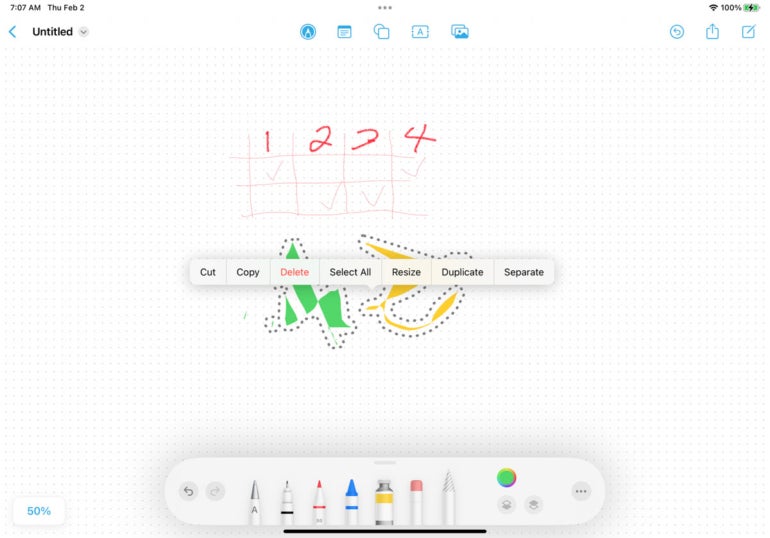
The final tool lets you select an area on the whiteboard to cut, copy, resize, duplicate or separate it (Figure D).
Figure D
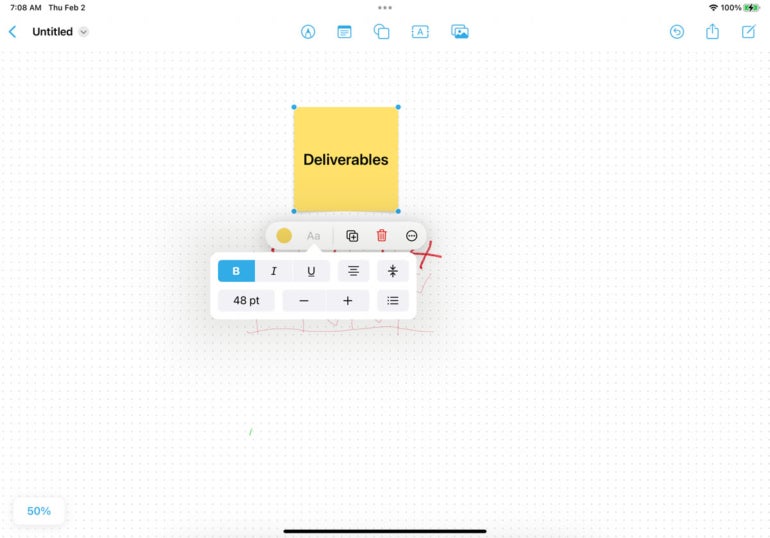
Tap the second icon at the top to insert a text box. Double tap in the box and type on the keyboard to enter text. Tap once on the text box to select it, and you can change the background color, modify the font size and attributes, duplicate the box or delete it (Figure E).
Figure E
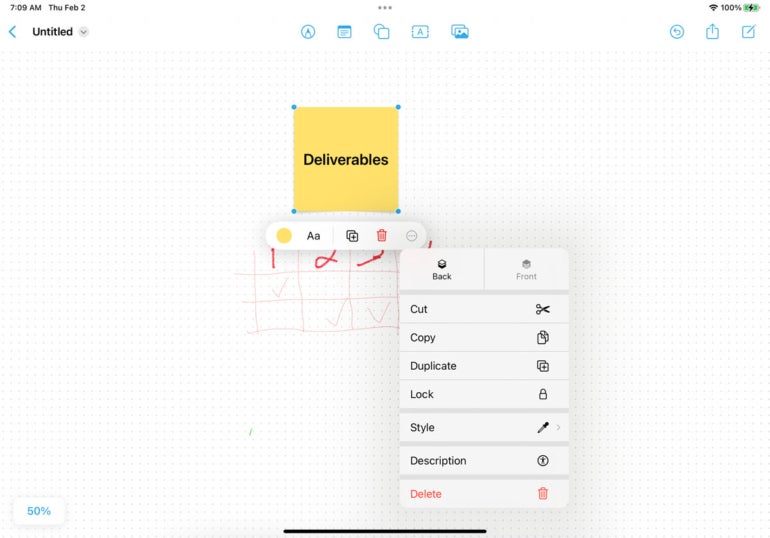
Tap the three-dot icon to trigger a menu from which you can cut, copy, duplicate, lock or delete the box (Figure F).
Figure F
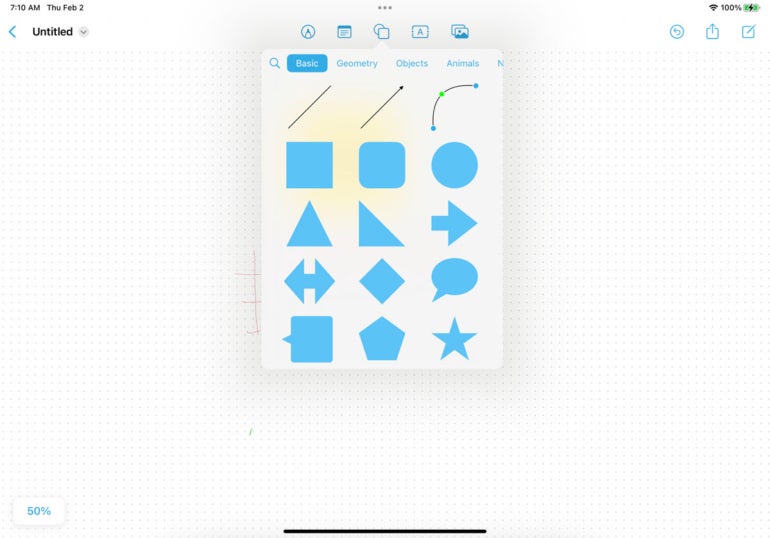
Tap the third icon at the top and you can then add a line, arrow, shape or image based on different categories such as symbols or activities (Figure G).
Figure G
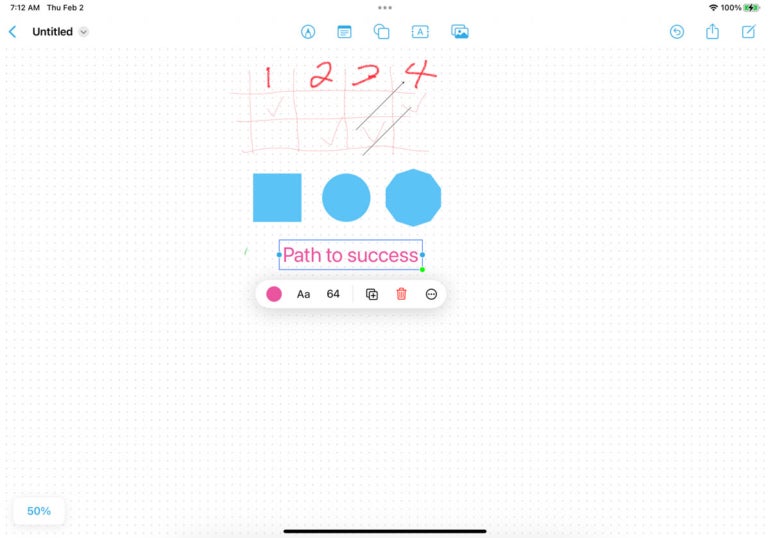
Tap the fourth icon at the top to add freeform text that you can move around the screen. Tap the text to change its color or font size, duplicate it or delete it (Figure H).
Figure H
Tap the three-dot icon to display the menu to cut, copy, duplicate and perform other actions on the text (Figure I).
Figure I

Tap the last icon on the top toolbar. From the menu, you can add an existing photo or video, shoot a new photo or video with your device’s camera, scan a document or other printed item, insert a hyperlink or insert a file from any online service via the Apple Files app (Figure J).
Figure J

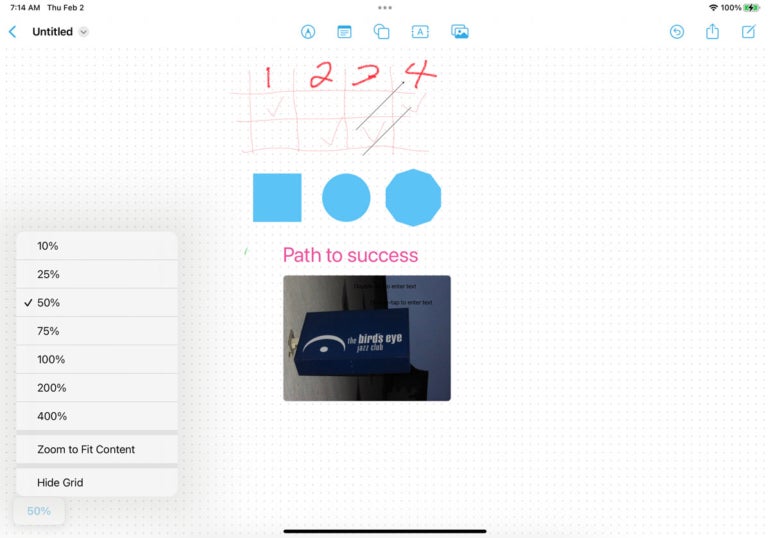
Tap the percentage number in the lower left to zoom in or out of the whiteboard by a specific percentage. You can also zoom to fit anything you’ve selected, zoom to fit the content and hide the grid on the whiteboard (Figure K).
Figure K
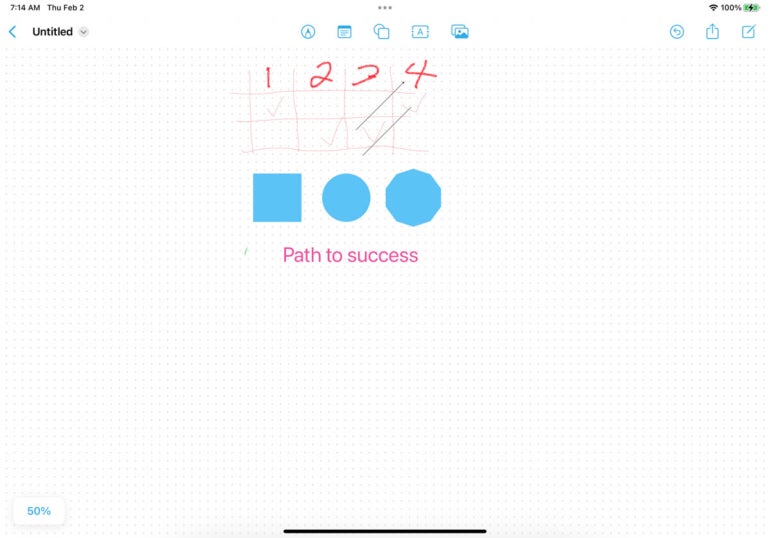
After any action you take on the whiteboard, tap the Undo icon in the upper left to undo it (Figure L).
Figure L
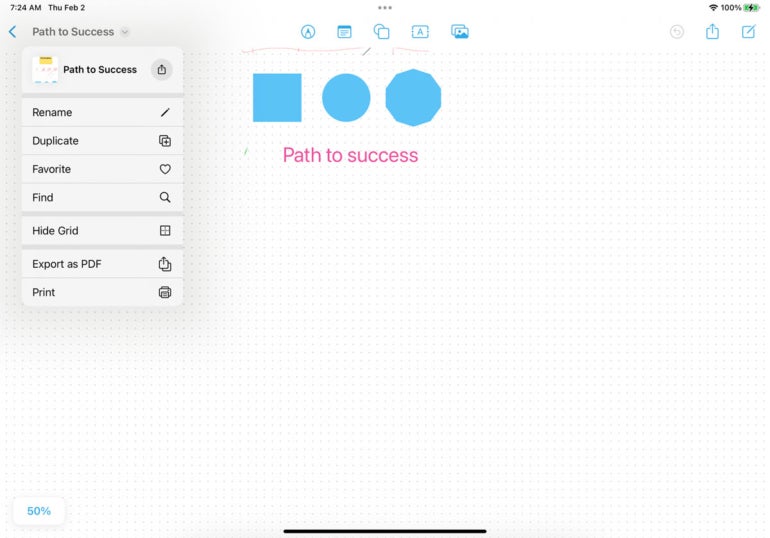
By default, your board is named Untitled as you create it, but you’ll likely want to give it a more descriptive name.
Tap the down arrow next to the word Untitled in the upper left. Select Rename to give it a different name. From here, select Duplicate to make a copy of the board and Favorite to give it a favored designation (Figure M).
Figure M
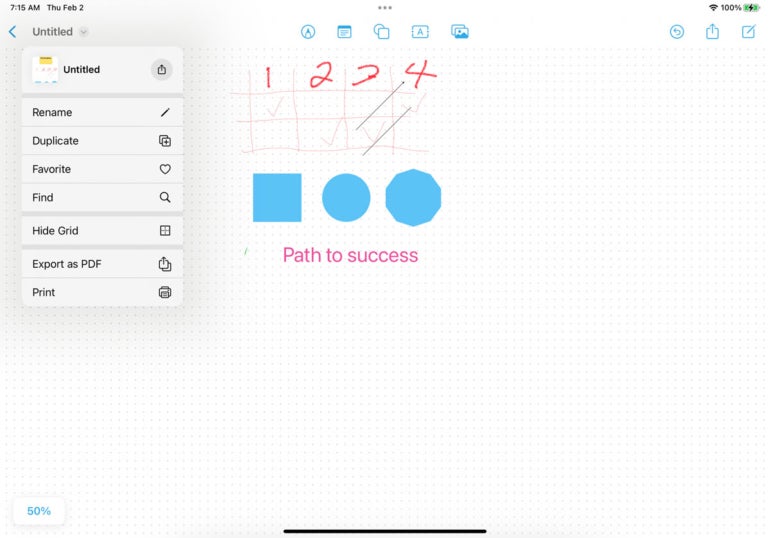
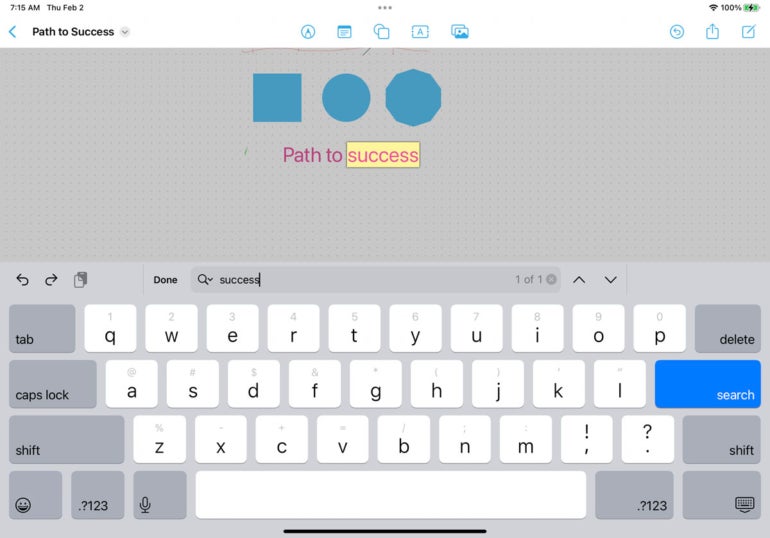
Select Find, and you can search for specific text strings in the board. Select Hide Grid to turn off the grid (Figure N).
Figure N
Select Export as PDF if you’re done with the board and want to share or save it as a static PDF. Select Print to print the board (Figure O).
Figure O
At any time, you can share the whiteboard. Tap the Apple Share icon in the upper right. Select the person with whom you want to share the board or select a specific app with which to share it (Figure P).
Figure P
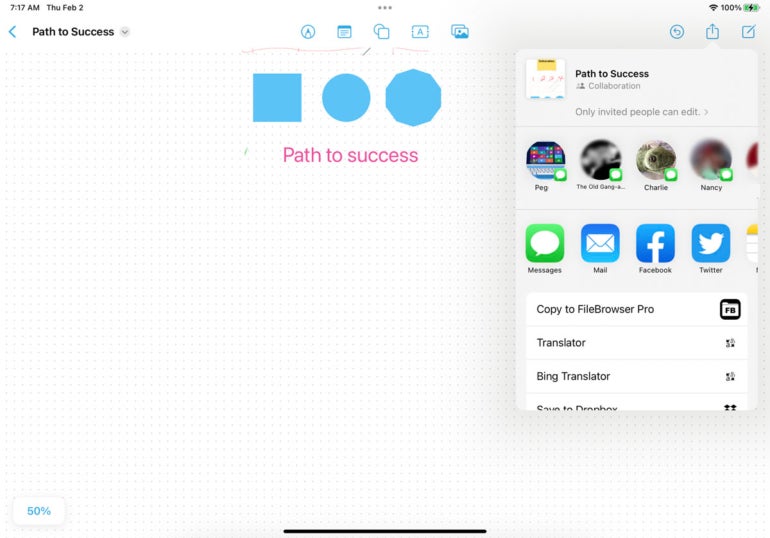
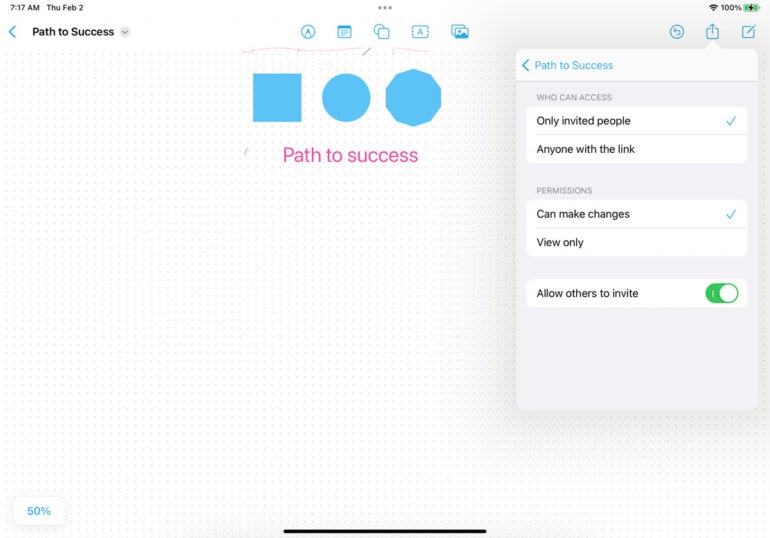
You can also invite other people to collaborate on the whiteboard. Tap the Share icon and then tap the option for Only invited people can edit. You can then choose who can access the board — only invited people or anyone with the link.
Next, decide if other people can make changes to the board or only view it and whether they can invite others to access the board (Figure Q).
Figure Q
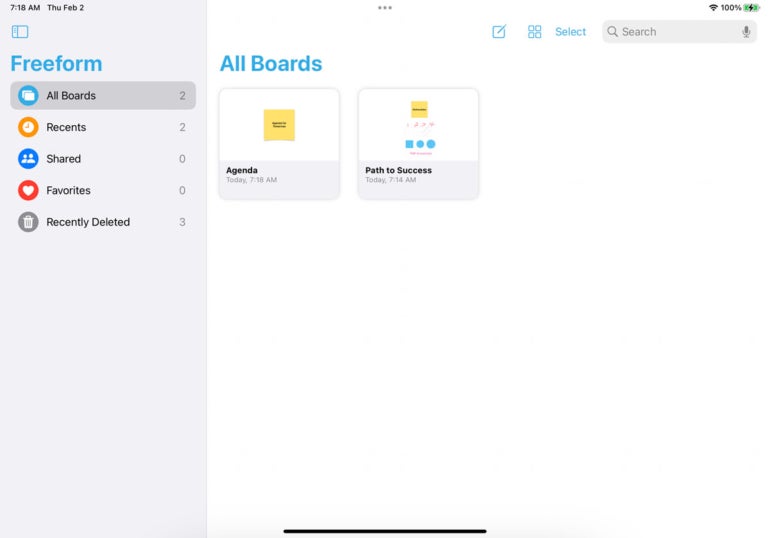
To create a new board, type the icon in the upper right. You can then create and save multiple boards for different meetings and projects.
At the main All Boards screen, you can see all the boards you’ve created. Tap the board you wish to access and view (Figure R).
Figure R
Discover more tutorials for the iPhone and iPad here: How to use the latest Siri features and how to use Spotlight to search for files, images and more.
Source of Article