Looking to manage your projects in-house but aren’t sure what software to use? ONLYOFFICE includes such a tool and might serve you well. Jack Wallen shows you the ropes.

ONLYOFFICE is an office suite of tools you can deploy in your own data center (or from a third-party cloud host) that can rival Google Workspaces or Office 365. The software includes just about everything you need to be productive, including CRM, Mail, People, Community, and of course Documents (documents, spreadsheets, presentations and templates).
Another feature included with ONLYOFFICE is a project management tool, dubbed Projects. With ONLYOFFICE Projects you can manage projects via a fairly standard board (which, unfortunately, is not in the kanban style), milestones, tasks, discussions, Gantt Charts, task/project assignments, time tracking and reports. Although not quite as simple to use as a kanban board, the ONLYOFFICE Projects tool is quite handy, especially given it’s accompanied by the other tools (thereby making it a full suite that can power any size business or even departments within an enterprise).
I want to introduce you to the ONLYOFFICE Projects tool, so you can empower yourself to a more efficient and collaborative workflow.
SEE: Feature comparison: Time tracking software and systems (TechRepublic Premium)
What you’ll need
The only thing you’ll need is a running instance of ONLYOFFICE (read ONLYOFFICE Document Server). With that available on your LAN, let’s get to managing our projects.
How to create a new project
The first thing you’ll want to do is create a new project. Log into your ONLYOFFICE instance and click Projects from the main page (Figure A).
Figure A
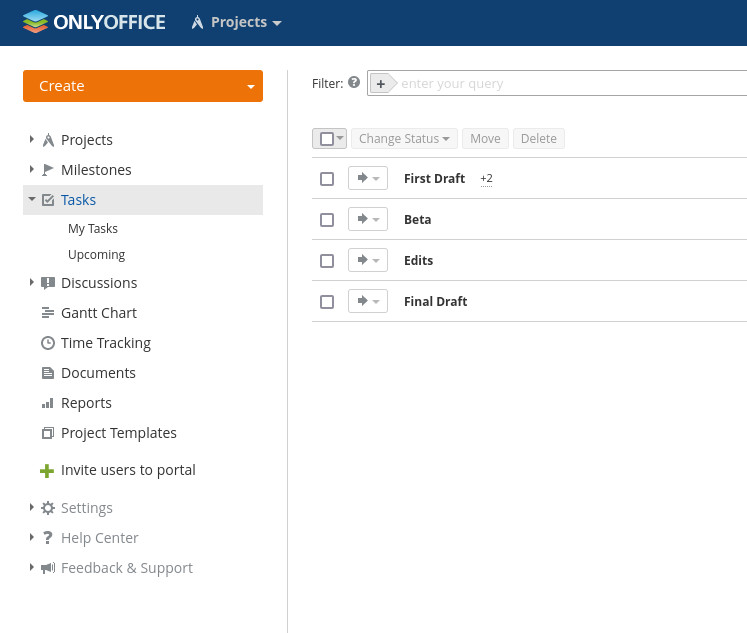
If you’ve already created a project (as I have), this will immediately take you to the Tasks page for the project (Figure B).
Figure B
You’re now ready to create your first project. To do that, click the Create drop-down and then click Project (Figure C).
Figure C

In the resulting window (Figure D), you need to give the project a title and assign it a manager. You can optionally add a description and, if you want the project to be visible to all users, un-check Save this project as private.
Figure D
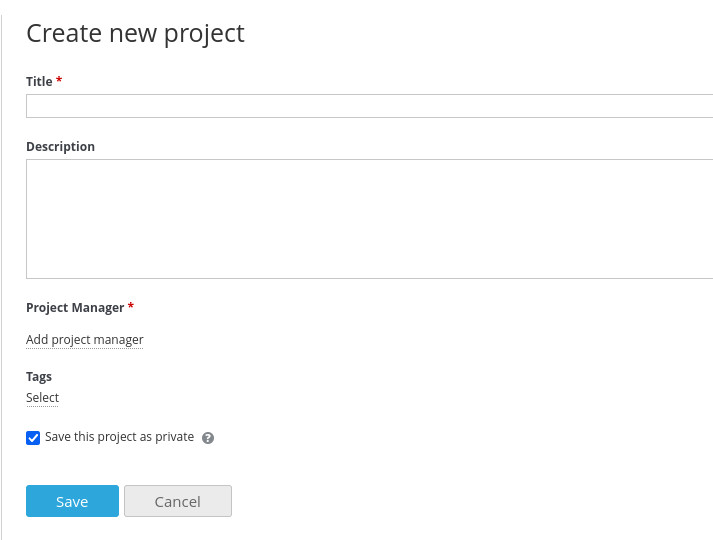
Click Save and your project is ready to be managed.
We’ve already run into the first issue to deal with. Out of the box, there’s only one user … you (the administrator). If you have any intention of collaborating on these projects, you’ll want to create new users, so they can be assigned projects to manage and/or tasks to take care of.
How to create users
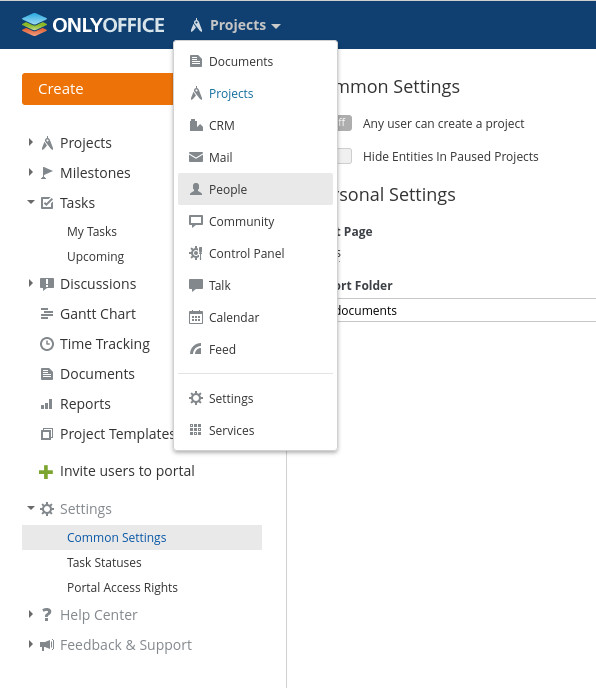
To create new users, click the tool drop-down near the top left of the window (directly to the right of ONLYOFFICE). From that drop-down, click People (Figure E).
Figure E
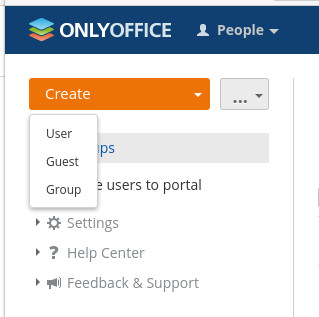
In the resulting window, click the Create dropdown, and click User (Figure F).
Figure F
On the new profile page (Figure G), fill out the necessary information for the new user.
Figure G
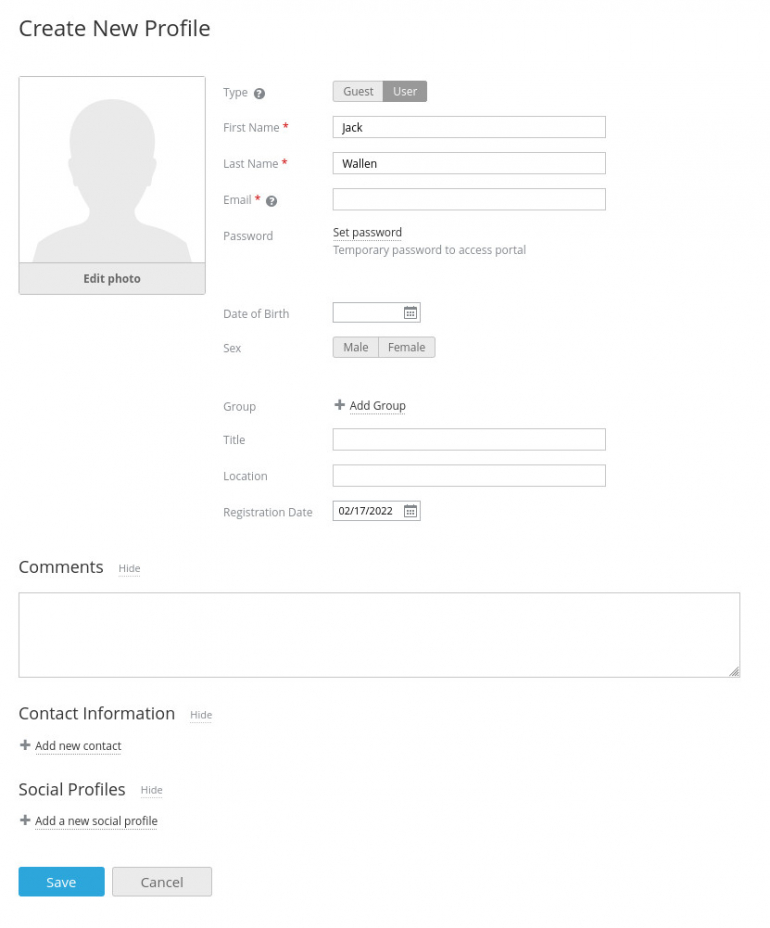
One handy addition is the ability to add social media accounts for the new user (choosing from Facebook, Twitter, LiveJournal, Blogger, MySpace and Yahoo!). You’ll want to create a temporary password for the new user as well. Once you’ve taken care of the user information, click Save, and that user will then be listed as pending. The new user will receive an email invite, where they must accept the invitation and then immediately change their password.
How to assign projects in ONLYOFFICE
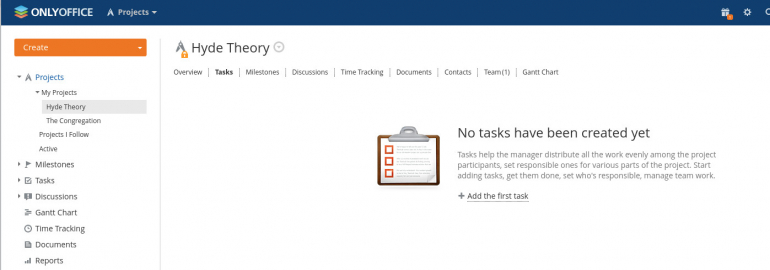
Now that you’ve added new users to ONLYOFFICE, you can then assign them projects (and tasks). This isn’t quite as intuitive as it should be (though simple, once you know where to look). Go back to the Projects page and then open the project in question. From the project’s page (Figure H), click the Team tab.
Figure H
On the Team page, click Manage team and then, from the popup (Figure I), select the user to be added to the team.
Figure I
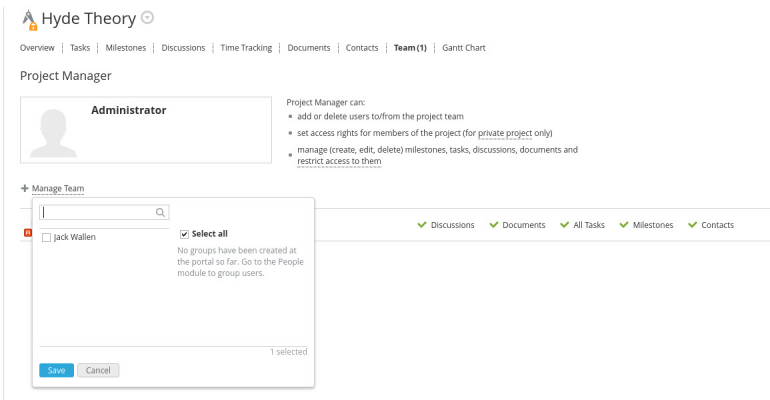
Click Save and the user has been added. That user should then be able to log into their account and start collaborating on the project.
Once you’ve taken care of adding users, you can get busy creating projects, tasks and subtasks. Project members can upload files to tasks and even attach a file from within the project’s Documents folder. The one bit of confusion with the document feature is that Project documents and files created within the Documents tool do not overlap. Because of this, you’ll want to make sure you create documents for Projects within the actual Project page and non-project documents within the Documents tool. This could probably use a bit of retooling on the part of ONLYOFFICE (as I’d like to see better integration between tools in the suite).
At this point, everything should be fairly intuitive to anyone who’s worked with a project management tool. If you’ve been looking for an all-in-one suite of productivity tools that can be
deployed in-house, ONLYOFFICE might be just the ticket.
Subscribe to TechRepublic’s How To Make Tech Work on YouTube for all the latest tech advice for business pros from Jack Wallen.
Source of Article