Jack Wallen shows you how easy it is to share directories to your local network through Samba with MX Linux.

I frequently share files on my LAN. Back and forth and back and forth — the sharing fun never ends. To that end, it’s a good thing I can manage those shares with the help of Samba. Once a directory has been made available, I can reach it from any operating system within my network.
With some distributions, setting up a Samba share means installing the software and then manually configuring those shares via the /etc/samba/smb.conf file. There are some distributions that make the process considerably easier.
SEE: 40+ open source and Linux terms you need to know (TechRepublic Premium)
And then there’s MX Linux, which includes a tool that makes sharing folders via Samba incredibly easy. Let me show you how it’s done.
What you’ll need to share folders with Samba
The only things you’ll need to share out directories are a running instance of MX Linux and a user with sudo privileges. Once you have those things at the ready, let’s share some directories.
How to use MX Config Samba
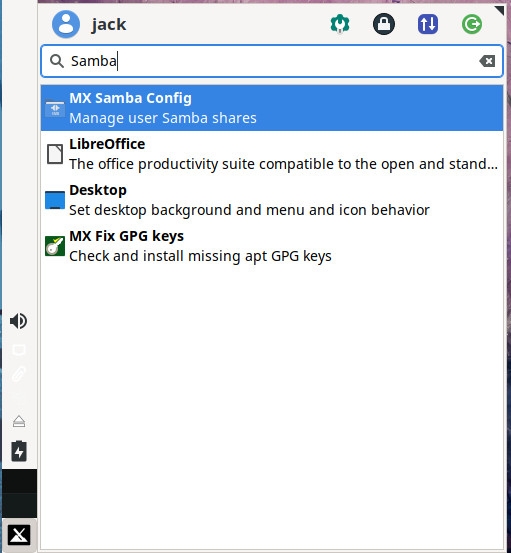
The tool in question is MX Config Samba, and it’s installed in MX Linux by default. So too is Samba, so there’s zero installation to take care of. You’ll find MX Config Samba in the desktop menu: Just search for Samba after you open that menu (Figure A).
Figure A
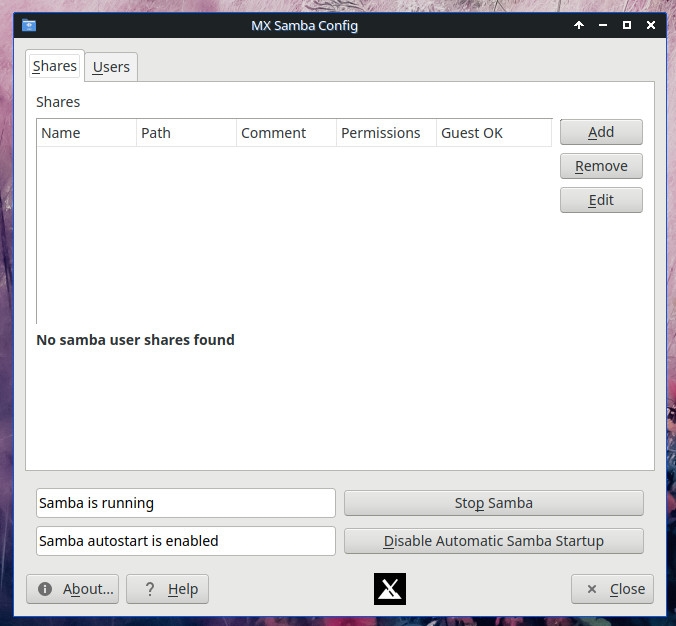
Once the app opens (Figure B), click Add to create a new share.
Figure B
In the resulting window (Figure C), give the share a name, select the Path (the directory to be shared), add an optional comment and then configure the access rights according to your needs.
Figure C
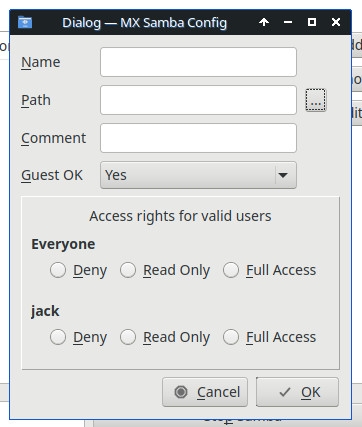
As to the access rights, you’ll need to configure them for both the owner — that’ll be you — and everyone else. You might also want to deny guest access to avoid any unwanted eyes from getting a peek into what’s available within the folder.
Once you’ve configured the share, click OK to save.
Next, click on the Users tab and you’ll notice that it’s empty (Figure D).
Figure D
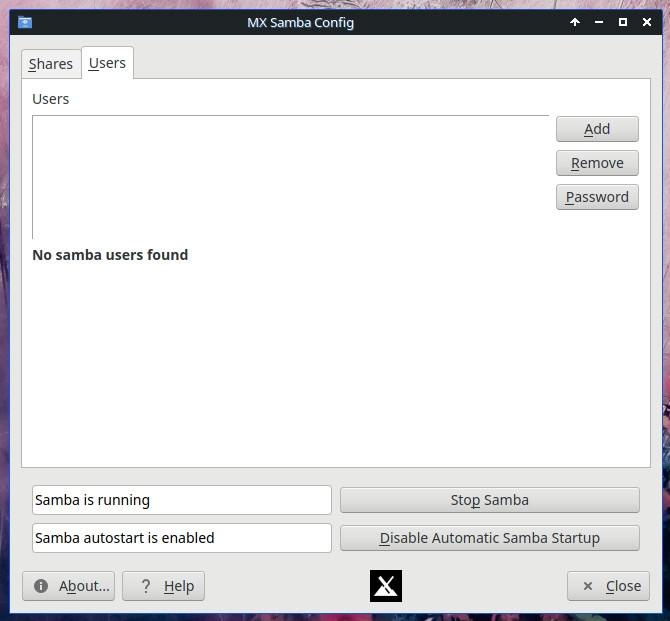
Click Add and then, when prompted, give the new user a name and password. Click OK to save the user and you’ll be prompted for your sudo password. Upon successful authentication, the user is created and your Share is now ready to be accessed by that user.
The only caveat to this is that you can only add users who already have accounts on your system. If you want to share the directory out to those on your LAN without user accounts on your system, you must allow guest access. Otherwise, the only people who can access the share will be those with system accounts. If you’re worried about security, you can always allow Guest access which is automatically limited to read-only, while authenticated accounts can enjoy full read/write/execute access.
And that, my Linux-loving friends, is all there is to share out a directory with MX Linux. I wish every Linux distribution made this process so simple. But for those who have to regularly share directories to a LAN from Linux, MX Linux might be the best distribution for the job.
Subscribe to TechRepublic’s How To Make Tech Work on YouTube for all the latest tech advice for business pros from Jack Wallen.
Source of Article