If you’re looking for a tool to cut down on the time you spend managing user accounts, let Usermin hand some of those duties over to your end-users.

Image: Gorodenkoff/Shutterstock
Sometimes you just need or want to give users a bit more control over their accounts. Or maybe you want to hand over some simple tasks, so your IT staff isn’t always bombarded with requests that could otherwise be handled by end-users.
SEE: From start to finish: How to deploy an LDAP server (TechRepublic Premium)
Sounds a bit dangerous, doesn’t it? It doesn’t have to be. There are plenty of web-based tools for end-users that help make it possible for them to do things like:
- Read, send and schedule email.
- Create cron jobs.
- Change files and folders permissions.
- Upload/download files and folders.
- Secure web directories.
- Setup and use GPG encryption.
- Change password.
- Setup SSH key authentication.
One particular tool is available for such tasks and can easily be deployed on your Debian- or Red Hat-based Linux distributions within your data center. That tool is a stripped-down version of Webmin, called Usermin. It’s not a tool for you to manage your users but rather designed for regular, non-root users on a Unix system. Usermin limits users to tasks that they would be able to perform if logged in via SSH or at the console. So, if you’re comfortable handing over that level of control to your users, Usermin might save you a few predictable distractions throughout the day.
I’m going to show you how to deploy this tool, so your users can take over some of the tasks that would normally be on the shoulders of your admins.
What you’ll need
The only things you’ll need to get Usermin up and running are a supported Linux distribution and a user with sudo privileges. I’ll be demonstrating on Ubuntu Server 20.04.
How to install the necessary dependencies
The first thing to be done is the installation of the necessary dependencies. I’ll assume you regularly update and upgrade your servers, so I won’t bother reminding you to update and upgrade.
With that said, log into your Ubuntu server and install the dependencies with the command:
sudo apt-get install perl libnet-ssleay-perl openssl libauthen-pam-perl libpam-runtime libio-pty-perl unzip -y
How to download and install Usermin
With the dependencies out of the way, we can now install Usermin. Usermin isn’t available in the standard repositories, nor does it have a repository of its own. To install the tool, you must download the installer file. Before you issue the download command, check the download site, to ensure you’re pulling down the latest version.
Download the latest version (as of this writing, 1.823) with the command:
wget https://sourceforge.net/projects/webadmin/files/usermin/1.823/usermin_1.823_all.deb
Once the file download is complete, install Usermin with the command:
sudo dpkg -i usermin*.deb
Allow the installation to complete and then start/enable the service with the commands:
sudo systemctl start usermin
sudo systemctl enable usermin
Finally, open the necessary port in the firewall with the command:
sudo ufw allow 20000
How to access Usermin
To access the Usermin web-based interface, launch a browser and point it to https://SERVER:20000 (where SERVER is the IP address or domain of the hosting server). You’ll be presented with the Usermin login window (Figure A).
Figure A
” data-credit>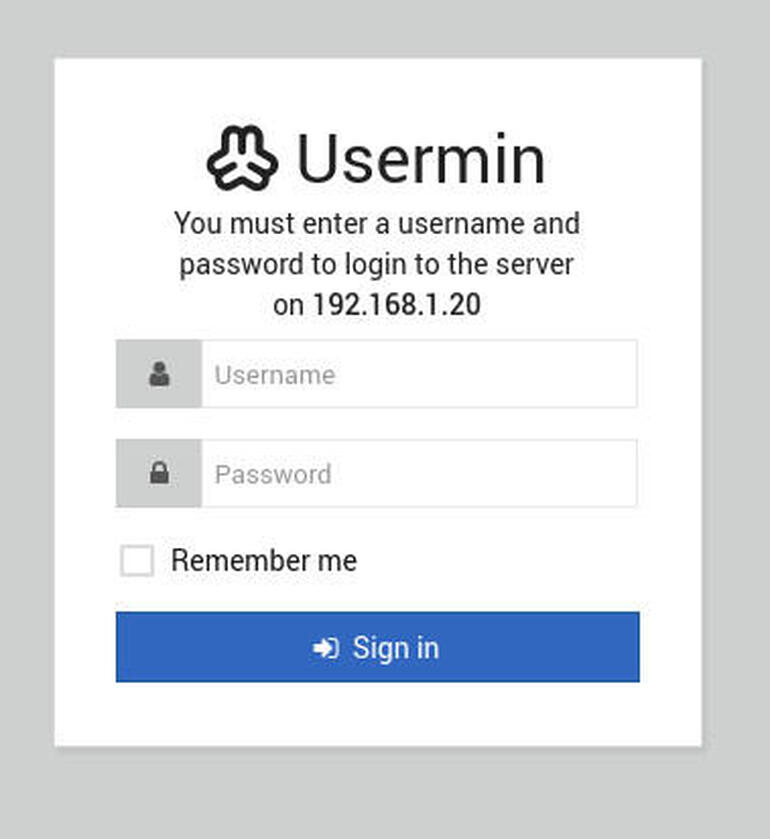
The Usermin login window.
Log in with a regular user and you’ll be greeted by the Usermin dashboard (Figure B), where you can start managing your user account.
Figure B
” data-credit>
The Usermin dashboard is ready for work.
And that’s all there is to deploying Usermin. This simple tool might save you and your IT staff a bit of frustration throughout your day. Users can now change their own passwords, manage email and much more.

Data Center Trends Newsletter
DevOps, virtualization, the hybrid cloud, storage, and operational efficiency are just some of the data center topics we’ll highlight. Delivered Mondays and Wednesdays
Also see
Source of Article