Looking for a place to house your documentation, checklists, and other bits of information for your staff? Jack Wallen shows you how to install DokuWiki, which can serve this purpose well.

Image: Getty Images/iStockphoto
Your in-house data center (or your cloud-based data center) is complicated. You might have numerous standard services running such as web servers, HRM tools, backup servers, data shares, and SaaS tools, etc. Or, you might have a cluster full of apps and services running.
Because of the amount of hardware and software you have up and running at any given time, you probably should be documenting how it was deployed, configured, and used. You might have numerous checklists and policies that need to be made available to staff, admins, and developers, but how do you do that? You could make use of a simple Wiki server. One such platform is the open source DokuWiki, which includes features like:
-
Easy to use interface and syntax
-
HTML embedding
-
Unlimited page revisions
-
Colored side-by-side diff support
-
Image uploading/embedding
-
Customizable Interwiki links
-
Section editing
-
Automatic table of contents generation
-
File locking
-
Customizable layout (through templates)
-
LDEP, MySQL, and Postgres support
I’m going to walk you through deploying DokuWiki on Ubuntu Server 20.04.
SEE: MSP best practices: Server deployment checklist (TechRepublic Premium)
What you’ll need
How to install Apache and PHP
The first thing we need to do is install the Apache web server and the necessary PHP components. Log in to your Ubuntu Server and install Apache with the command:
sudo apt-get install apache2 -y
Now we can install the necessary PHP components with the command:
sudo apt-get install php php-gd php-xml php-json -y
With those installations complete, start and enable Apache with the command:
sudo systemctl enable --now apache2
How to download, unpack, and move DokuWiki
In order to install DokuWiki, we need to download it, unpack it, and relocate it to the Apache document root.
Download the latest version of DokuWiki with the command:
wget https://download.dokuwiki.org/src/dokuwiki/dokuwiki-stable.tgz
Unpack the compressed tar file with the command:
tar xvzf dokuwiki-stable.tgz
Move and rename the newly-created directory with the command:
sudo mv dokuwiki-XXX /var/www/html/dokuwiki
Where XXX is the release number.
Copy the sample .htaccess file with the command:
sudo cp /var/www/html/dokuwiki/.htaccess{.dist,}
Change the ownership of the DokuWiki folder with the command:
sudo chown -R www-data:www-data /var/www/html/dokuwiki
How to configure Apache
At the moment, Apache has no way of knowing about the new installation. To make it aware, we’ll create a configuration file for DokuWiki. Create the new file with the command:
sudo nano /etc/apache2/sites-available/dokuwiki.conf
In that file, paste the following:
<VirtualHost *:80> ServerName dokuwiki.example.com DocumentRoot /var/www/html/dokuwiki <Directory ~ "/var/www/html/dokuwiki/(bin/|conf/|data/|inc/)"> <IfModule mod_authz_core.c> AllowOverride All Require all denied </IfModule> <IfModule !mod_authz_core.c> Order allow,deny Deny from all </IfModule> </Directory> ErrorLog /var/log/apache2/dokuwiki_error.log CustomLog /var/log/apache2/dokuwiki_access.log combined
</VirtualHost>
If you’ll be using a domain, make sure to change the ServerName option you see above.
Save and close the file.
Enable the new site with the command:
sudo a2ensite dokuwiki
Reload the Apache configuration files with the command:
sudo systemctl reload apache2
How to finish up the installation
Open up a web browser and point it to http://SERVER/install.php (where SERVER is the IP address or domain of your hosting server). You should see the web-based DokuWiki installer (Figure A).
Figure A
” data-credit rel=”noopener noreferrer nofollow”>
The DokuWiki web-based installer is ready to complete your installation.
Fill out the necessary information and click Save. The installation should complete immediately and present you with a link that will take you to the DokuWiki main page, which is at http://SERVER/doku.php?id=wiki:welcome (where SERVER is the IP address of the domain of your hosting server) (Figure B).
Figure B
” data-credit rel=”noopener noreferrer nofollow”>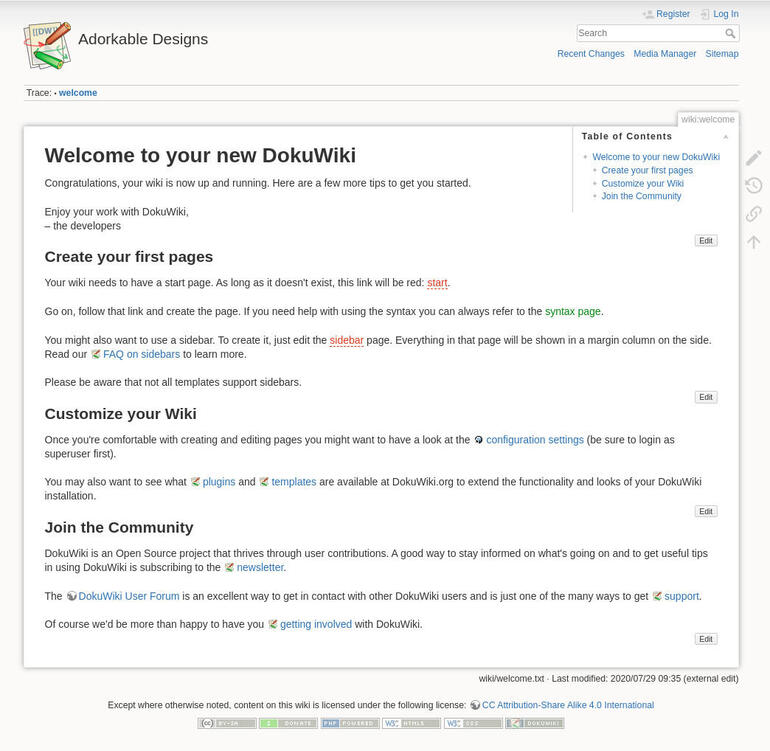
The DokuWiki web-based installer is ready to complete your installation.
That’s it. You’re now ready to start building a Wiki site to document your hardware, software, containers, and more. This is a great way to keep your developers and admins in the know about what’s going on with your deployments. You could even use this tool to house things like checklists for admins and developers. Just make sure you keep this Wiki safe from prying eyes–don’t ever use a tool like this as any sort of password manager. Always keep your passwords locked away in a proper password manager. DokuWiki (and similar tools) are great for documentation, but not so great at keeping secrets safe.
Subscribe to TechRepublic’s How To Make Tech Work on YouTube for all the latest tech advice for business pros from Jack Wallen.

Data Center Trends Newsletter
DevOps, virtualization, the hybrid cloud, storage, and operational efficiency are just some of the data center topics we’ll highlight. Delivered Mondays and Wednesdays
Also see
Source of Article