Jack Wallen walks you through the process of deploying the open-source GlassFish Java Application server on the latest release of Ubuntu Server.

Glassfish is a free, open-source Java application server that simplifies the process of deploying your enterprise-grade Java apps to a scalable platform. Originally developed by Sun Microsystems, GlassFish is now maintained by Oracle and is released under both the Common Development and Distribution License as well as the GPL.
GlassFish includes features like:
- Extensible core based on OSGi Alliance standards
- Served in a web container
- User-friendly web-based admin console
- Update tool for Java apps and add-ons
- Support for clustering and load balancing
The one thing I’ll warn you about is that GlassFish isn’t exactly the most responsive application you’ll ever use. That’s most likely to do with Java, so you’ll want to install the platform on a server with some pretty serious hardware. But once it’s installed on the right hardware, it’ll serve you well.
Let’s get GlassFish up and running.
SEE: Hiring kit: Back-end Developer (TechRepublic Premium)
What you’ll need
To get GlassFish up and running, here’s what you’ll need:
- A running instance of Ubuntu Server 22.04
- A user with sudo privileges
That’s it, let’s make some Java magic.
How to install the dependencies
The first thing we’ll do is install a few basic dependencies. Log in to your Ubuntu Server instance and issue the command:
sudo apt-get install software-properties-common apt-transport-https wget ca-certificates gnupg2 ubuntu-keyring unzip -y
When that completes, install the Java OpenJDK and Java Runtime Environment with:
sudo apt-get install default-jdk default-jre -y
How to download and unpack GlassFish
Next, we need to download and unpack GlassFish. Before doing this, make sure to check with the official GlassFish Download page to locate the latest version of the software. Download version 6.2.5 with:
wget https://download.eclipse.org/ee4j/glassfish/glassfish-6.2.5.zip
Once that downloads, unpack it with:
unzip glassfish-6.2.5.zip
Move the newly-created folder into /opt with:
sudo mv glassfish6 /opt
How to create a systemd file for GlassFish
We now need to create a systemd file so we can control the GlassFish service. Create the file with the command:
sudo nano /usr/lib/systemd/system/glassfish.service
In that file, paste the following:
[Unit]Description = GlassFish Server v6.1.0After = syslog.target network.target
[Service]User = rootExecStart = /usr/bin/java -jar /opt/glassfish6/glassfish/lib/client/appserver-cli.jar start-domainExecStop = /usr/bin/java -jar /opt/glassfish6/glassfish/lib/client/appserver-cli.jar stop-domainExecReload = /usr/bin/java -jar /opt/glassfish6/glassfish/lib/client/appserver-cli.jar restart-domainType = forking
[Install]WantedBy = multi-user.target
Reload the systemd daemon with:
sudo systemctl daemon-reload
Start and enable the GlassFish service with:
sudo systemctl enable --now glassfish
How to configure GlassFish
With GlassFish installed, we now must configure it with an admin password. The default password is blank, so you’ll want to create one with the command:
/opt/glassfish6/bin/asadmin --port 4848 change-admin-password
When prompted to type the admin password, just hit Enter and then type and verify the new password. Once that’s taken care of, enable secure login with:
/opt/glassfish6/bin/asadmin --port 4848 enable-secure-admin
How to configure the firewall
Since Ubuntu Server defaults to Uncomplicated Firewall, let’s open the required ports with:
sudo ufw allow 4848sudo ufw allow 8080sudo ufw allow OpenSSHsudo ufw enable
How to access the GlassFish web UI
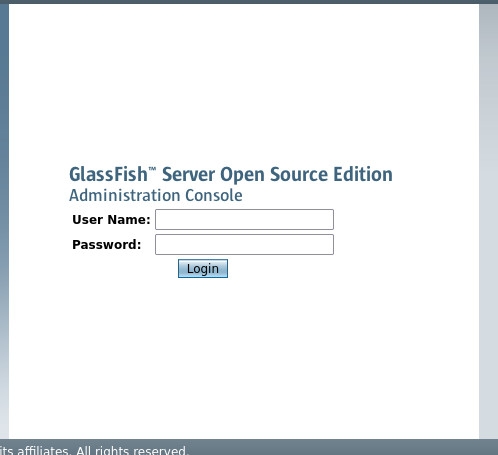
Everything is ready. Open a web browser and point it to http://SERVER:4848, where SERVER is either the IP address or domain of the hosting server. You’ll be prompted for the admin credentials you set earlier (Figure A).
Figure A
Upon successful authentication, you’ll see the GlassFish main page (Figure B), where you can dive in and begin the process of deploying your first Java application.
Figure B

Congratulations on taking this step toward centralized and simplified Java application deployment.
Subscribe to TechRepublic’s How To Make Tech Work on YouTube for all the latest tech advice for business pros from Jack Wallen.
Source of Article