Combing through logs on numerous servers can be a chore. Learn how to simplify that with the Graylog monitoring server.

Image: iStockPhoto/maxkabakov
You probably have a few Ubuntu servers running in your data center. How is the security on those systems? Have you checked the logs recently? Those log files contain important information about the security of your systems. Combing through those numerous log files can be a chore–especially when you have to check log files on every system across your network.
Good thing there are tools like Graylog available. Graylog is an open source log management platform used for the monitoring of logs on systems associated with a network. Graylog uses MongDB for storing information, so it’s perfectly capable of scaling to meet your needs.
Graylog can help you with collecting, organizing, analyzing, and extracting data. With that information in hand, you can better secure and optimize your servers.
Let’s get Graylog installed on Ubuntu Server 20.04.
SEE: Identity theft protection policy (TechRepublic Premium)
What you’ll need
- An instance of Ubuntu Server 20.04
- A user with sudo privileges
How to update and upgrade Ubuntu
The first thing we must do is update and upgrade the server.
Note: If the kernel is upgraded, you’ll need to reboot for the changes to take effect. Because of this, make sure to run the update/upgrade at a time when a reboot is feasible.
To update and upgrade Ubuntu, log in to your server and issue the following two commands:
sudo apt-get update
sudo apt-get upgrade -y
How to install Java
Next, we need to install the first dependency, Java. To do this, issue the following command:
sudo apt-get install openjdk-11-jre-headless -y
How to install and configure Elasticsearch
We’ll be using Elasticsearch for the storage of logs from machines outside of the hosting server. To install Elasticsearch, first issue the command:
sudo -s
Download and install the Elasticsearch GPG key with the command:
wget -qO - https://artifacts.elastic.co/GPG-KEY-elasticsearch | apt-key add -
Add the Elasticsearch repository with the command:
echo "deb https://artifacts.elastic.co/packages/oss-6.x/apt stable main" | tee -a /etc/apt/sources.list.d/elastic-6.x.list
Update apt and install Elasticsearch with the following commands:
apt-get update
apt-get install elasticsearch-oss -y
We now need to make a couple of changes to the Elasticsearch configuration file. Open the file in question with the command:
nano /etc/elasticsearch/elasticsearch.yml
In that file, look for the line that starts with:
#cluster.name:
Change that to:
cluster.name: graylog
At the bottom of that file, add the following line:
action.auto_create_index: false
Save and close the file.
Start and enable Elasticsearch with the following commands:
systemctl daemon-reload
systemctl start elasticsearch
systemctl enable elasticsearch
How to install MongoDB
We’ll now install the database server. To install MongoDB, issue the command:
apt-get install mongodb-server -y
Start and enable the database with the commands:
systemctl start mongodb
systemctl enable mongodb
Exit out of the root user with the command:
exit
How to install and configure Graylog
It’s now time to install Graylog. Because Graylog is not available in the standard repositories, we must first download and install the necessary repository package with the commands:
sudo wget https://packages.graylog2.org/repo/packages/graylog-3.3-repository_latest.deb
sudo dpkg -i graylog-3.3-repository_latest.deb
Update apt and install Graylog with the commands:
sudo apt-get update -y
sudo apt-get install graylog-server -y
A secret user password must be generated for Graylog. Do this with the command:
sudo pwgen -N 1 -s 96
Make sure to copy the generated string of characters as you’ll need them for the Graylog configuration file.
Next, generate a secure password for the Graylog admin user to log in to the web-based interface. Do this with the command:
sudo echo -n PASSWORD | sha256sum
Where PASSWORD is a secure password. Make sure to copy the output of the above command as well.
Open the Graylog configuration file with the command:
sudo nano /etc/graylog/server/server.conf
Look for the line:
password_secret =
Paste the user password you generated above, such that it looks like:
password_secret = STRING
Where STRING is the password string.
Next, look for the line:
root_password_sha2 =
Do the same for the above, only paste the secure password you generated.
Finally, look for the line:
#http_bind_address = 127.0.0.1:9000
Change the above line to:
http_bind_address = 127.0.0.1:9000
Save and close the file.
Start and enable Graylog with the commands:
sudo systemctl daemon-reload
sudo systemctl start graylog-server
sudo systemctl enable graylog-server
How to install and configure NGINX
Finally, we must install NGINX to serve as a reverse proxy. If you have Apache installed, make sure to stop and disable it with the commands:
sudo systemctl stop apache2
sudo systemctl disable apache2
Install NGINX with the command:
sudo apt-get install nginx -y
Start and enable NGINX with the commands:
sudo systemctl start nginx
sudo systemctl enable nginx
Create a new Graylog NGINX configuration file with the command:
sudo nano /etc/nginx/sites-available/graylog.conf
In that file, paste the following:
server { listen 80; server_name NAME; location / { proxy_set_header Host $http_host; proxy_set_header X-Forwarded-Host $host; proxy_set_header X-Forwarded-Server $host; proxy_set_header X-Forwarded-For $proxy_add_x_forwarded_for; proxy_set_header X-Graylog-Server-URL http://$server_name/; proxy_pass http://127.0.0.1:9000; }
}
Where NAME is either the IP address or domain of your Graylog server.
Save and close the file.
Enable the site with the command:
sudo ln -s /etc/nginx/sites-available/graylog.conf /etc/nginx/sites-enabled/
Restart NGINX with the command:
sudo systemctl restart nginx
How to access Graylog
Open a web browser and point it to http://SERVER_IP (where SERVER_IP is either the IP address or domain of your Graylog server). You should be greeted by the Graylog login page (Figure A).
Figure A
” data-credit rel=”noopener noreferrer nofollow”>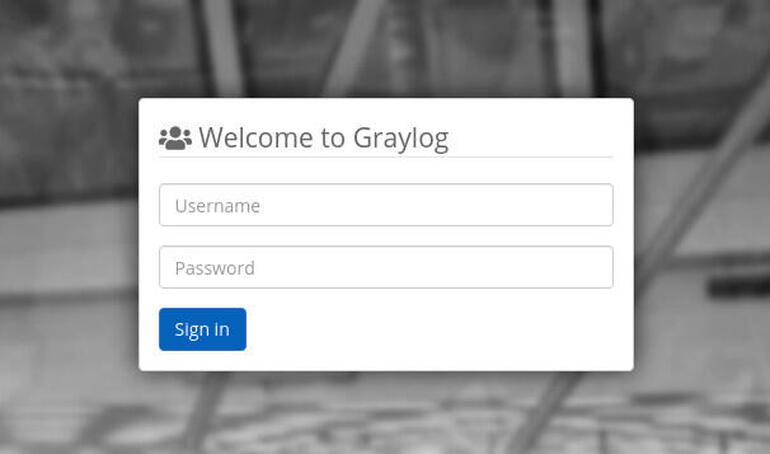
Logging in to Graylog.
The authentication username will be admin and the password will be the password you used when generating the secure password with the command echo -n PASSWORD | sha256sum.
And that’s all there is to installing Graylog. You can start poking around the dashboard to get up to speed with this powerful logging system.

Cybersecurity Insider Newsletter
Strengthen your organization’s IT security defenses by keeping abreast of the latest cybersecurity news, solutions, and best practices. Delivered Tuesdays and Thursdays
Also see
Source of Article