With Multipass, you can spin up virtual machine appliances in no time. Learn how to deploy a Nextcloud cloud server in less than two minutes.

Image: Shutterstock
Multipass has quickly become one of my favorite open source means to deploy virtual machines (VM) based on Ubuntu images. Multipass is a lightweight VM manager that is designed so developers can launch a fresh environment with a single command. Multipass is fast, efficient, and can run on Linux (via KVM), Windows (via Hyper-V), and macOS (via HyperKit).
One really cool trick Multipass has up its sleeve is the ability to quickly spin up appliances.
What are appliances? Think of them as pre-bundled images that include the operating system and all software necessary to run a full-blown server. At the moment, Multipass is limited to the number of appliances it offers. The current list looks like:
-
Nextcloud
-
Plex Media Server
-
OpenHAB
-
AdGuard
-
Mosquito
My guess is, if these appliances grow in popularity, we’ll see even more appliances offered by Canonical. Until then, let’s take a look at how you can easily deploy one of these appliances.
What you’ll need
In order to deploy an appliance with Multipass, you’ll need Multipass up and running. If you don’t already have an instance of Multipass at the ready, check out: How to use Multipass, a new tool for launching virtual machines, to find out how.
SEE: Serverless computing: A guide for IT leaders (TechRepublic Premium)
How to spin up an appliance with Multipass
Because Nextcloud is my favorite on-premise cloud solution, I’ll demonstrate with that particular option. In order to spin up this virtual machine appliance, open a terminal window on your machine hosting Multipass and issue the command:
multipass launch appliance:nextcloud
When the command completes, you should see the appliance has launched and has been assigned a random name (Figure A).
Figure A
” data-credit rel=”noopener noreferrer nofollow”>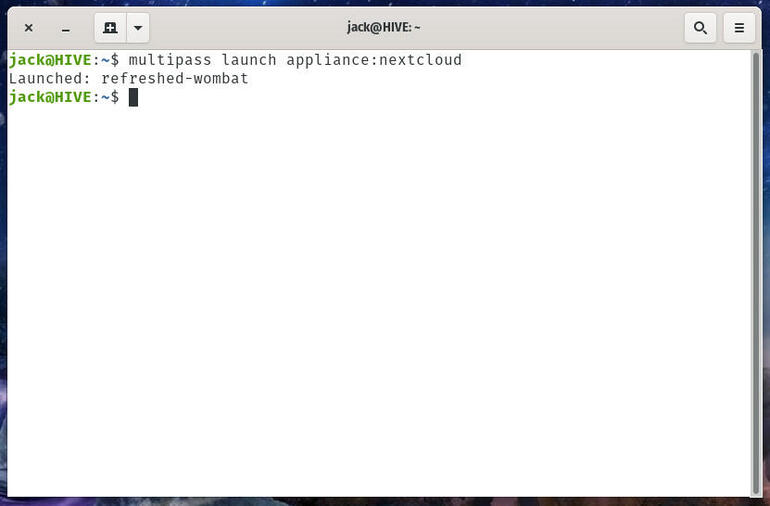
Our Nextcloud appliance has been launched with the name refreshed-wombat.
The next step is to find the IP address of our newly-deployed appliance. For that, issue the command:
multipass list
You should see the Nextcloud appliance listed, with an associated IP address (Figure B).
Figure B
” data-credit rel=”noopener noreferrer nofollow”>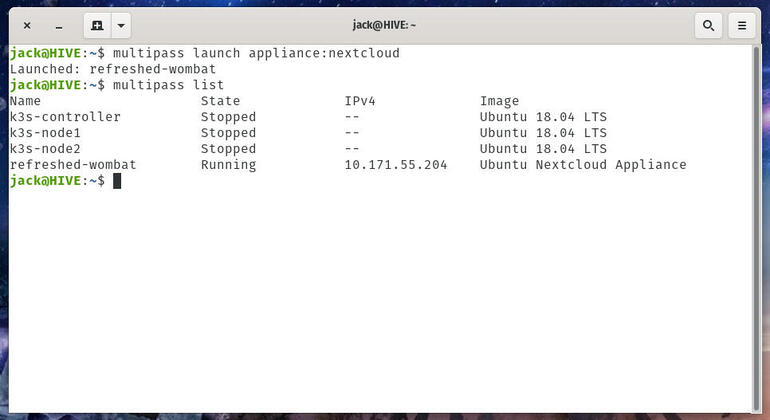
The IP address of our Nextcloud appliance.
Open a web browser and point it to that IP address to reveal the Nextcloud admin account creation page (Figure C).
Figure C
” data-credit rel=”noopener noreferrer nofollow”>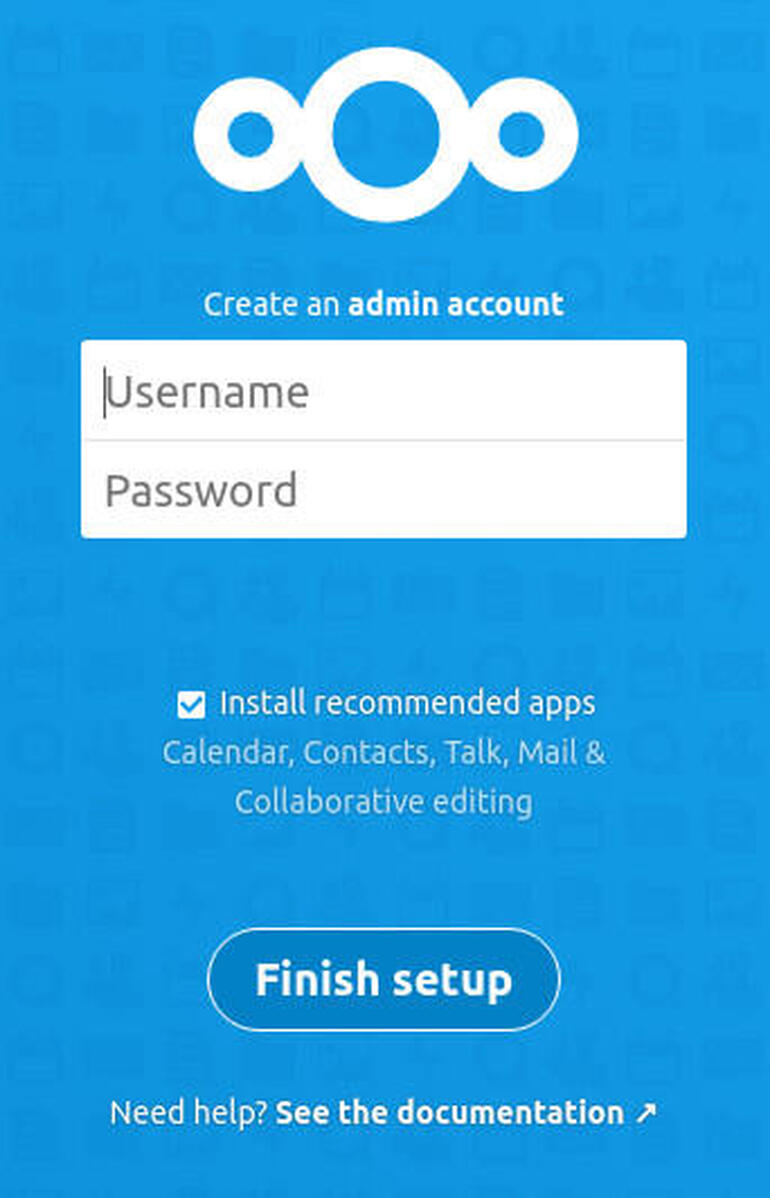
The Nextcloud admin account creation page.
Fill out the information for the admin user, click Create, and your Nextcloud instance is ready to go.
And that’s all there is to it. In about two minutes, you can spin up a complete, on-premises cloud server, thanks to Multipass. It doesn’t get any easier than that.

Open Source Weekly Newsletter
You don’t want to miss our tips, tutorials, and commentary on the Linux OS and open source applications. Delivered Tuesdays
Also see
Source of Article