Looking for the means to carry with you an easy-to-use Linux distribution toolkit that will enable you to install Linux wherever you go? Look no further than Ventoy.

Image: Jack Wallen
Creating a flash drive with bootable Linux distributions usually involves reformatting said drive. This means if you want to switch distributions, or add more, you’ll lose the distribution already on the drive.
What if you could not only keep that distribution, but make this process incredible easy–like, on the fly easy? Wonder no more, as with the Ventoy application, this is a reality.
Ventoy is probably one of the best tools on the market for creating bootable flash drives for Linux distributions. With Ventoy, you install the app to a flash drive, which will format the drive into two separate partitions, one of which uses the exFAT file system. In that exFAT partition, you simply copy the ISO images you want to use and Ventoy does the rest. You can then take that drive and install any number of Linux distributions on your mobile laptops or desktops–no matter where you are.
It really is that simple.
I’m going to walk you through the steps to get your Ventoy-created, bootable flash drive ready, so you can create an on-the-fly Linux distribution toolkit to carry around with you.
SEE: Flash storage: A guide for IT pros (TechRepublic Premium)
What you’ll need
Ventoy can be installed with either Linux or Windows. I’ll be demonstrating with Linux, so the only thing you’ll need to follow these instructions is a Linux distribution. This can be a server or a desktop as the Linux version of Ventoy is command line-only. For the Windows version, there is a handy GUI tool to make Ventoy even easier.
How to install Ventoy
Ventoy is a portable application, in that you don’t actually install it to the host machine. You download the file, extract it, and run it from within the newly-created folder which will install everything necessary on the target flash drive. So, the first thing to do is download the file from the Ventoy git page.
Once downloaded, extract the file with the command:
tar xvzf ventoy*.tar.gz
This will create a new folder, named ventoy-XXX-linux. Change into that new folder with the command:
cd ventoy-XXX-linux
Where XXX is the release number.
In that folder you’ll find a subfolder, named ventoy-XXX (where XXX is the release number). Change into that folder with the command:
cd ventoy-XXX
Where XXX is the release number.
The next step is to plug in your USB device. Once inserted, go back to the terminal window and issue the command:
df -h
You should see that flash drive listed, which will include the Linux-recognized name of the drive (such as /dev/sdb). That name is what you’ll need to install Ventoy onto the flash drive.
To install Ventoy to the flash drive, issue the command:
sudo ./Ventoy2disk.sh -i /dev/sdX
Where X is the name of the flash drive.
You will be asked twice if you want to continue, with the warnings that all data on the drive will be lost (Figure A).
Figure A
” data-credit rel=”noopener noreferrer nofollow”>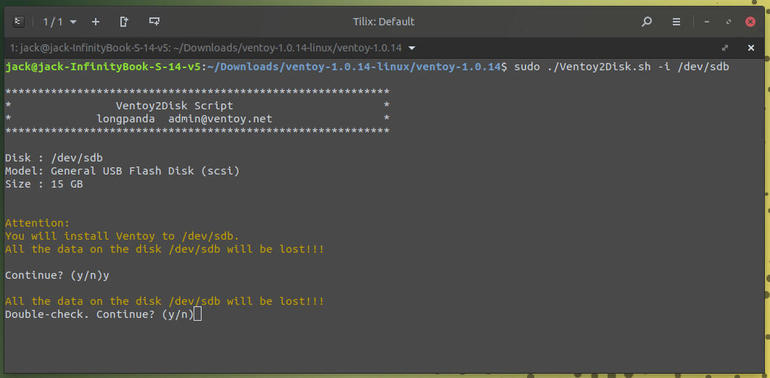
Installing Venoy on a USB flash drive.
Once Ventoy is installed, your USB drive will then show up listed as Ventoy (Figure B).
Figure B
” data-credit rel=”noopener noreferrer nofollow”>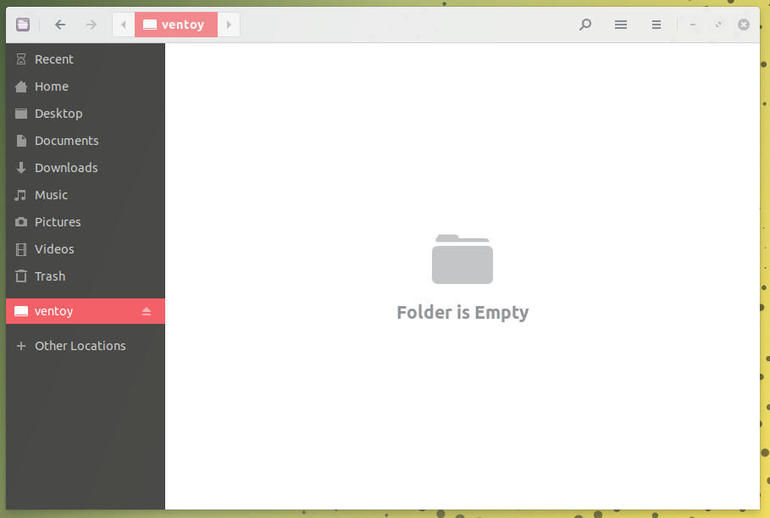
Our flash drive now has ventoy installed.
How to copy ISO images to the drive
At this point, all you have to do is download the ISO images you want added to Ventoy and then copy them into the exFAT partition (named ventoy). You can copy those by using your file manager or from the command line, like so:
cp /path/to/image/image.iso /path/to/ventoy/
Make sure you use the complete path and name to the ISO image as well as the path to the Ventoy partition on the USB drive. For example, copying elementary OS could look like:
cp ~/Downloads/elementaryos-5.1-stable-20200603.iso /media/jack/ventoy/
Once the copy completes, you can then either copy more ISO images into the folder (if your USB drive has the room), or eject the drive.
Boot the computer you want to install Linux on from the Ventoy-enabled flash drive and select the distribution you want to install (Figure C).
Figure C
” data-credit rel=”noopener noreferrer nofollow”>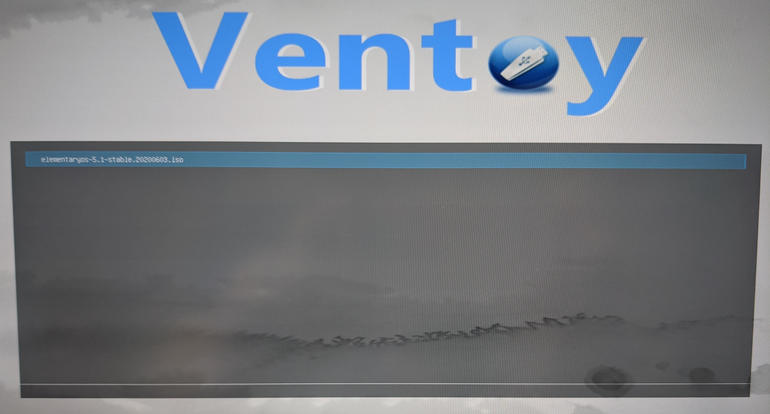
If you have multiple ISO files copied to the Ventoy drive, they’ll all be listed here.
That’s all there is to it. To make this setup even better, you can delete and add ISO images to that Ventoy flash drive at will.
You’d be hard-pressed to find a better solution for creating a mobile Linux installation toolkit. Give Ventoy a try, I’m certain you’ll be sold immediately.

Open Source Weekly Newsletter
You don’t want to miss our tips, tutorials, and commentary on the Linux OS and open source applications. Delivered Tuesdays
Also see
Source of Article